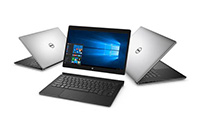
 Laptop & Tablet Parts
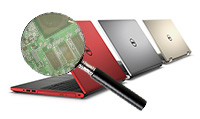
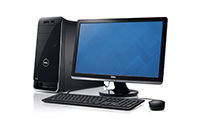 Desktop & All-in-one Parts
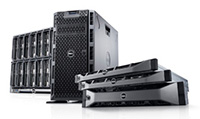 Dell Server Parts
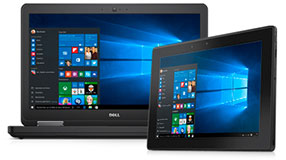


This is a guide designed to help you install or upgrade your laptop’s memory. I have provided you with pictures to help you along the way. I have also made sure to include links that can make it easier for you to purchase the memory you need. Do be sure to take the time to determine exactly what kind of memory your laptop uses before making a purchase. Having the appropriate Dell parts on hand is crucial.
To successfully replace your laptop memory or upgrade it, you will require a screwdriver, preferably one designed for use with computers. The only other materials you will need are the memory upgrades themselves.
Step 1 – Before you can replace your memory or upgrade it, you will need to find out how much memory is currently on the machine. Just go to your “Start Menu” and click under settings and then control panel. From your control panel, go to the system and then select the general tab. The amount of memory on your machine will be listed here.
Step 2 – Open up your laptop owner’s manual to find out how much memory your machine can accept. The manual is also the place to look to find out the type of memory and speed your machine can use. You will also need to determine how many slots your laptop has to accommodate memory upgrades.
Step 3 – Once you have purchased the proper memory upgrade, you will need to prepare your laptop for installation. To do this, turn off the machine, unplug it from the charger and also remove the main battery. Be sure to touch something metal to the machine or use an anti-static glove to get rid of any harbored static charge.
Step 4 – Remove the screw(s) that hold the memory slot cover in place. Now, remove the cover itself and set it aside, along with the screw. Take the new memory and line up its notches with your free memory card slot. You can do this by tilting the memory card backwards just a small amount. Now, gently press down on the card until you hear a slight “snap.” This means you have successfully engaged the card into the slot. If you are replacing your memory, remove the old card and insert the new one following the above directions.
Step 5 – Pick up the cover for the memory card compartment and slide it back into place. Use the screw(s) to properly secure it.
Step 6 – Replace the battery into its proper slot. Power on the machine either using the plug or the battery charge. If your machine beeps or otherwise acts out of the ordinary, the memory has not been properly placed in the slot. Repeat the previous steps to properly secure the card in the memory slot.
Step 7 – Take the time to repeat Step 1 to make certain the memory is registering with your computer and it is being detected. The initial specifications that you read should have increased to your new card’s specs or to include them in the overall reading.
