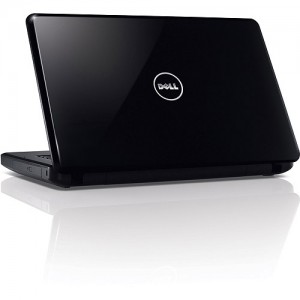
In this Dell laptop tutorial we are going to show you how to install and replace the Motherboard on your Dell Inspiron N5030 / M5030 laptop. These installation instructions have be made into 16 easy to follow printable steps. We have also create a video tutorial that shows you how to install your Dell Inspiron N5030 / M5030 Motherboard .
Before you begin


Dell repair manual service precautions
Tools needed for this laptop repair
- 1 x small phillips head screw driver
- 1 x small plastic scribe
Inspiron M5030 Motherboard
Inspiron M5030 Motherboard
|
|
DIY Discount - Parts-People.com offers 5% off to all DO-IT-YOURSELFERS!
Use this coupon code to save 5% off these parts DIYM514
|
Video tutorial repair manual
Installation and Removal Instructions
Dell Inspiron N5030 / M5030 Motherboard
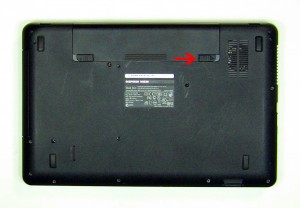

Step 1
- Slide the battery locking latch to the unlocked position.
- Slide the battery latch over and the battery out of the laptop.
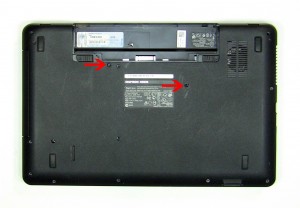

Step 2
- Remove the (2) 2.5mm x 5mm screws.
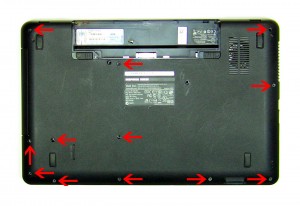

Step 3
- Remove the 12 base screws.
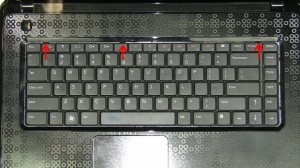

Step 4
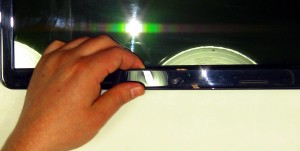
- Turn the laptop over and open it up.
- Using a scribe or a flat head screw driver, press in the 3 latches that allow the keyboard to lift up.
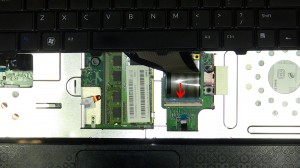

Step 5
- Carefully lift up the keyboard and slide it forward.
- Unplug the keyboard cable.
- Remove the keyboard from the laptop.
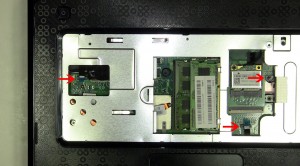

Step 6
- Unplug the 3 palmrest cables.
- Carefully unsnap the palmrest from the laptop base.
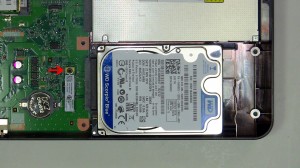

Step 7
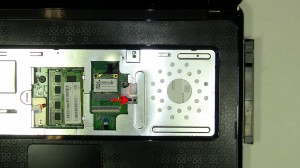
- Remove the bluetooth screw.
- Lift the bluetooth card from the motherboard.
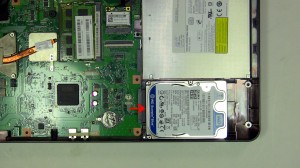

Step 8
- Remove the hard drive by sliding it to the right.
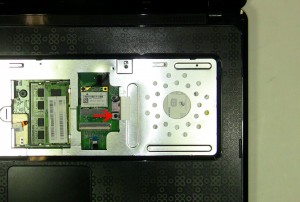

Step 9
- Remove the optical drive locking screw.
- Slide the optical drive out of the laptop.
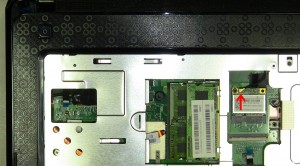

Step 10
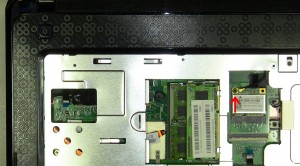
- Unplug the wireless antenna cable.
- Remove the 2mm x 3mm retaining screw.
- Remove the wireless card.
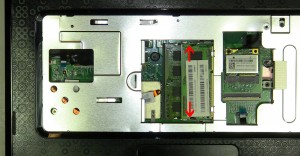

Step 11
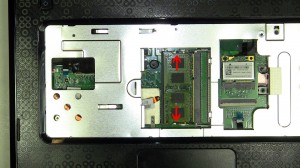
- Separate the memory clips until the memory stick lifts up.
- Repeat the the process for the second memory clip.
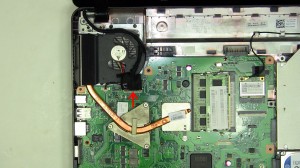

Step 12
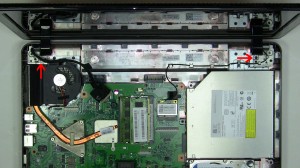
- Unplug the LCD cable and carefully remove it from the fan.
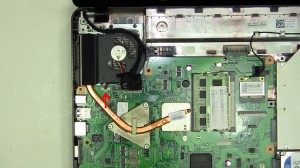

Step 13
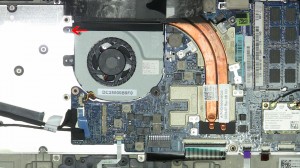
- Unplug the fan.
- Loosen the 4 heatsink screws.
- Lift the heatsink and fan away from the motherboard.
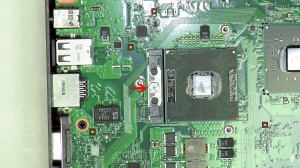

Step 14
- Turn the CPU locking screw counterclockwise until the CPU is loose.
- Lift the CPU out of the motherboard socket.
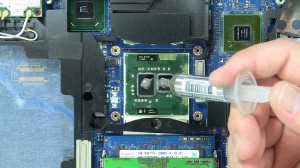

Step 15
- Installation note 1: Make sure to replace thermal compound or thermal pads on the CPU and heatsink.
- Installation note 2: Tighten the heatsink screws in the order listed on the heatsink.
- **This image is used only as an example.**
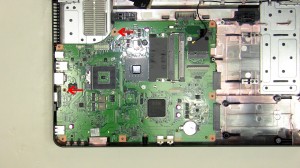

Step 16
- Remove the 2 motherboard screws.
- Lift the motherboard out of the base.
Inspiron M5030 Motherboard
Inspiron M5030 Motherboard
|
|
DIY Discount - Parts-People.com offers 5% off to all DO-IT-YOURSELFERS!
Use this coupon code to save 5% off these parts DIYM514
|

 Laptop & Tablet Parts



One Response to Dell Inspiron N5030 / M5030 Motherboard Removal and Installation