In this Dell laptop tutorial we are going to show you how to install and replace the DC Jack on your Dell Inspiron 15R (5520 / 7520) laptop. These installation instructions have be made into 9 easy to follow printable steps. We have also create a video tutorial that shows you how to install your Dell Inspiron 15R (5520 / 7520) DC Jack.
Before you begin


Dell repair manual service precautions
Tools needed for this laptop repair
- 1 x small phillips head screw driver
- 1 x small plastic scribe
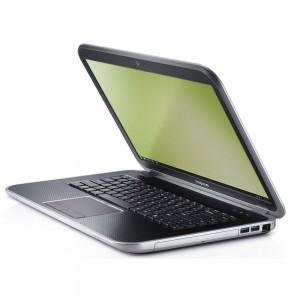
Inspiron 7520 DC Jack
Inspiron 15R 7520 DC Jack
|
|
DIY Discount - Parts-People.com offers 5% off to all DO-IT-YOURSELFERS!
Use this coupon code to save 5% off these parts DIYM514
|
Video tutorial repair manual
Installation and Removal Instructions
Dell Inspiron 15R (5520 / 7520) DC Jack
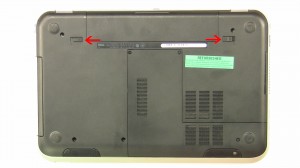

Step 1
- Slide the latches over and lift the battery out.
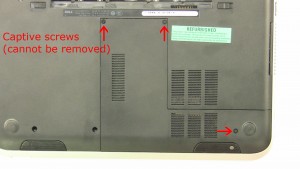

Step 2
- Loosen the screws and remove the access door (cannot be removed).
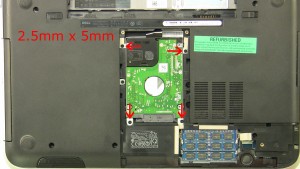

Step 4
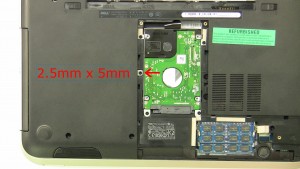
- Remove the hard drive screws (4 x M2.5 x 5mm).
- Using the tab, slide the hard drive out of the laptop.
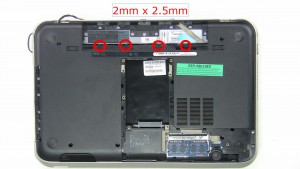

Step 5
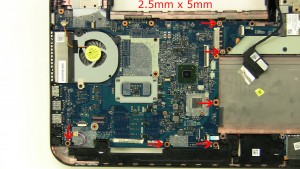
- Remove screws under battery (4 x M2x2.5mm).
- Remove the screws on bottom base (5 x M2.5x6mm).
- Remove the screws under the DVD optical drive (2 x M2 x 3mm).

Step 6
- Turn the laptop over and open it up.
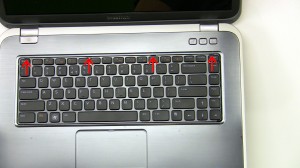
- Using a small flathead screwdriver, press in the 4 keyboard latches and lift the keyboard up.
- Unplug the keyboard cable.

Step 8
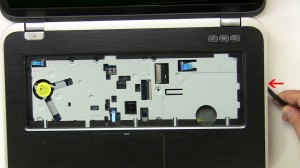
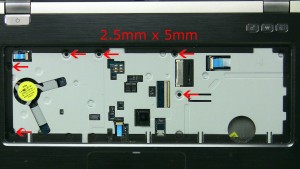
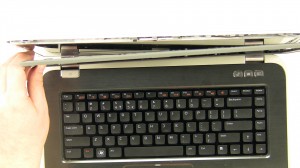
- Using a scribe or a flathead screwdriver, separate the palmrest from the laptop base.
- Unplug the cable under the palmrest.

Step 9
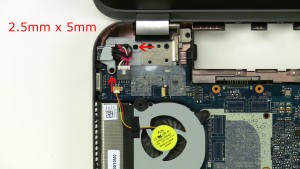
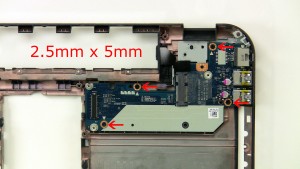
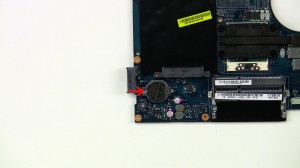
- Remove the DC jack bracket screws (2 x M2.5 x 5mm).
- Remove the DC jack bracket.
- Unplug the DC jack cable & remove the DC jack.
Inspiron 7520 DC Jack
Inspiron 15R 7520 DC Jack
|
|
DIY Discount - Parts-People.com offers 5% off to all DO-IT-YOURSELFERS!
Use this coupon code to save 5% off these parts DIYM514
|

 Laptop & Tablet Parts




One Response to Dell Inspiron 15R (5520 / 7520) DC Jack Removal and Installation