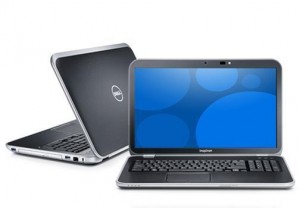
In this Dell laptop tutorial we are going to show you how to install and replace the CPU Cooling Fan on your Dell Inspiron 17R (5720 / 7720) laptop. These installation instructions have be made into 10 easy to follow printable steps. We have also create a video tutorial that shows you how to install your Dell Inspiron 17R (5720 / 7720) CPU Cooling Fan.
Before you begin


Dell repair manual service precautions
Tools needed for this laptop repair
- 1 x small phillips head screw driver
- 1 x small plastic scribe
|
|
DIY Discount - Parts-People.com offers 5% off to all DO-IT-YOURSELFERS!
Use this coupon code to save 5% off these parts DIYM514
|
Video tutorial repair manual
Installation and Removal Instructions
Dell Inspiron 17R (5720 / 7720) CPU Cooling Fan
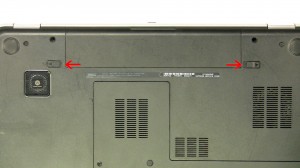

Step 1
- Slide the latches over.
- Lift the battery out of the laptop.
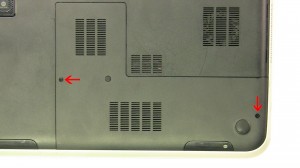

Step 2
- Loosen the screws and remove the access door.
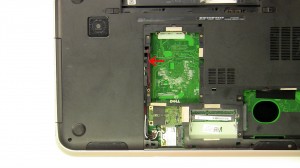

Step 3
- Remove the screw and remove the DVD optical drive screw.
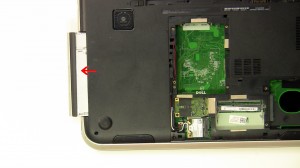

Step 4
- Remove the DVD optical drive.
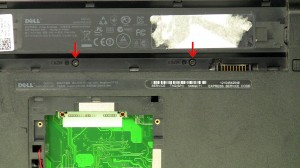

Step 5
- Remove the 2 screws under the battery.
- Remove the 3 screws under the optical drive.
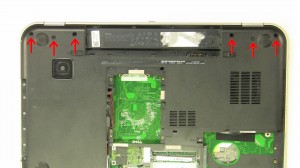

Step 6
- Remove the 6 screws at the top of the base.
- Remove the 4 screws at the bottom of the base.
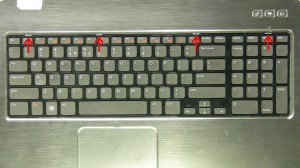

Step 7
- Turn the laptop over and open it up.
- Using a flathead screwdriver or plastic scribe, press in the 4 latches to release the keyboard.
- Carefully turn over the keyboard and unplug the keyboard cable.
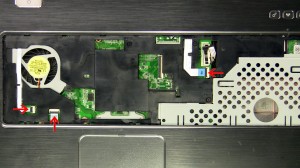

Step 8
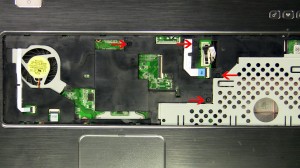
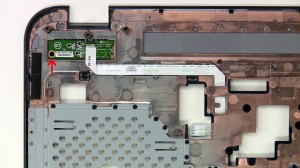
- Unplug the 3 palmrest cables.

Step 9
- Remove the 4 top palmrest screws.
- Lift the palmrest off of the laptop.

Step 10
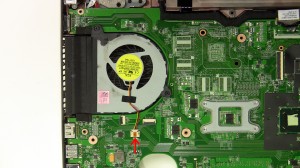
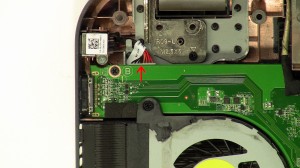
- Unplug the cable.
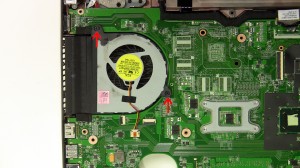
- Remove the 2 screws and remove the cooling fan.
|
|
DIY Discount - Parts-People.com offers 5% off to all DO-IT-YOURSELFERS!
Use this coupon code to save 5% off these parts DIYM514
|

 Laptop & Tablet Parts



3 Responses to Dell Inspiron 17R (5720 / 7720) CPU Cooling Fan Removal and Installation