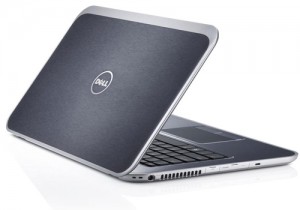
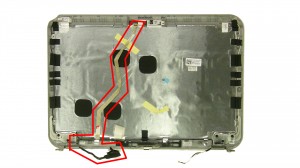
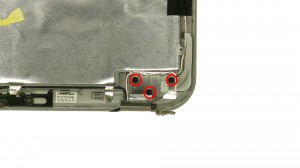
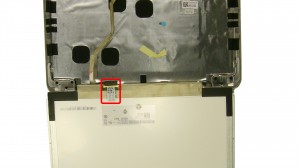
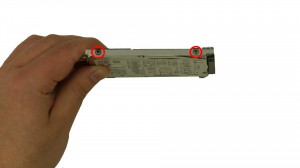
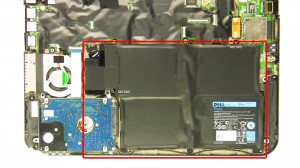
In this Dell laptop tutorial we are going to show you how to install and replace the Mouse Button on your Inspiron 13z-5323 (P31G-001) laptop. These installation instructions have be made into 7 easy to follow printable steps. We have also create a video tutorial that shows you how to install your Inspiron 13z-5323 (P31G-001) Mouse Button.
Before you begin


Dell repair manual service precautions
Tools needed for this laptop repair
- 1 x small phillips head screwdriver
- 1 x small plastic scribe
Inspiron 5323 Inspiron 5323
Inspiron 13z 5323 Inspiron 13z 5323
|
|
DIY Discount - Parts-People.com offers 5% off to all DO-IT-YOURSELFERS!
Use this coupon code to save 5% off these parts DIYM514
|
Video tutorial repair manual
Installation and Removal Instructions
Inspiron 13z (5323) Mouse Button
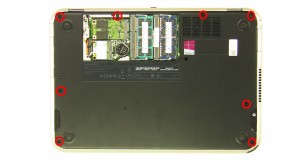

Step 1
- Remove the bottom screws.
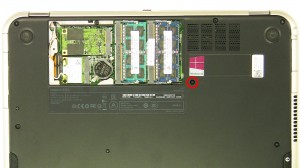

Step 2
- Remove the keyboard screw on the bottom of the laptop.
- Turn the laptop over and open it up.
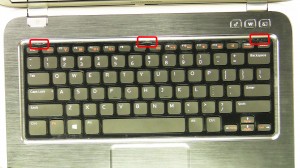

Step 3
- Press the 3 keyboard latches and loosen the keyboard.
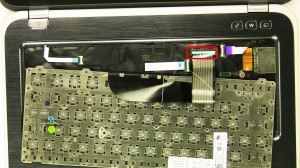

Step 4
- Turn over the keyboard.
- Unplug the keyboard cable.
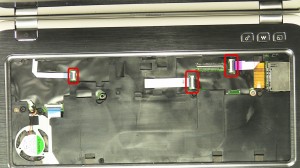

Step 5
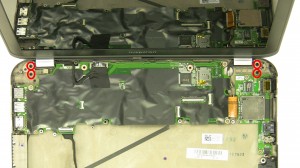
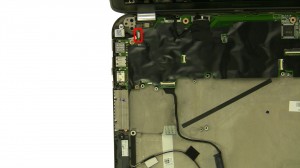
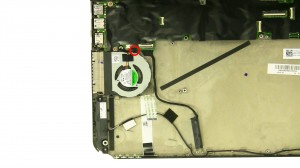
- Unplug the palmrest cables.
- Remove the palmrest screws.
- Remove the palmrest from the base.
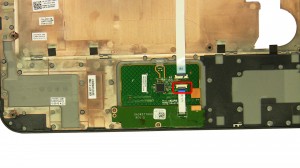

Step 6
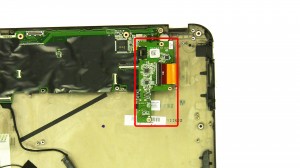
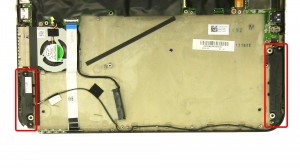
- Turn the palmrest over.
- Unplug the cable.
- Remove the screws.
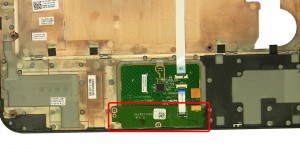

Step 7
- Remove the mouse buttons.
Inspiron 5323 Inspiron 5323
Inspiron 13z 5323 Inspiron 13z 5323
|
|
DIY Discount - Parts-People.com offers 5% off to all DO-IT-YOURSELFERS!
Use this coupon code to save 5% off these parts DIYM514
|

 Laptop & Tablet Parts


