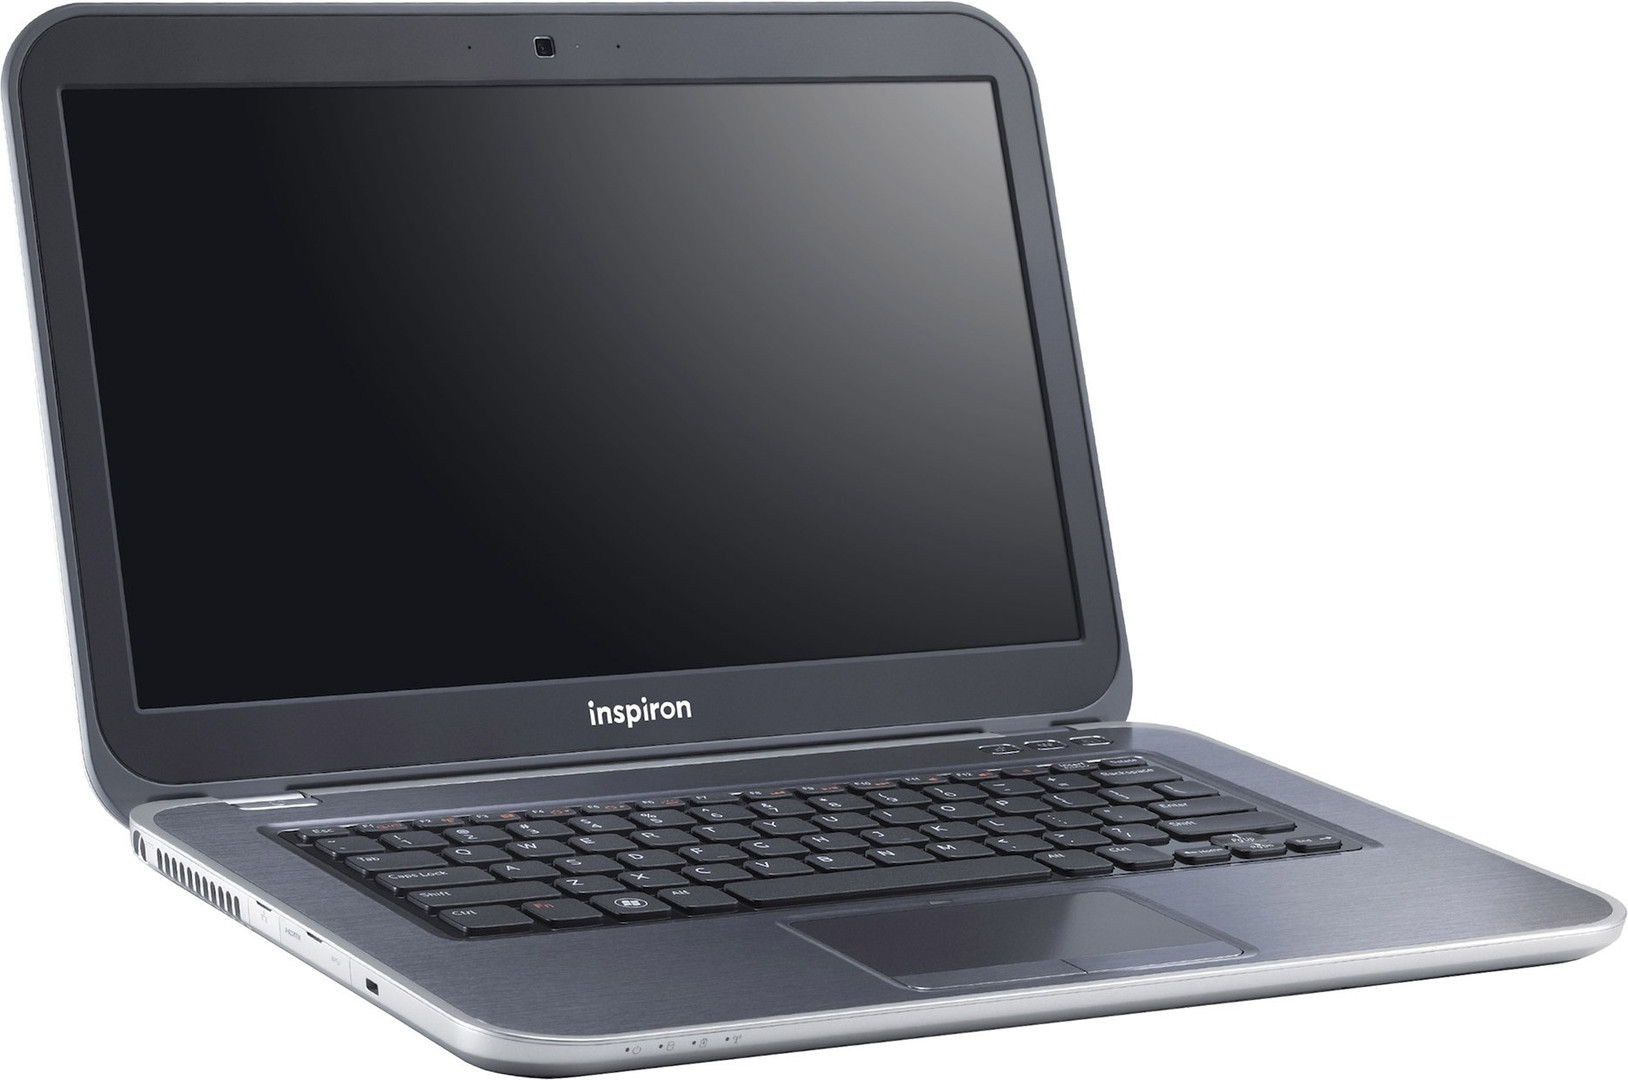
In this Dell laptop tutorial we are going to show you how to install and replace the DVD Optical Drive on your Inspiron 14z-5423 (P35G-001) laptop. These installation instructions have be made into 5 easy to follow printable steps. We have also create a video tutorial that shows you how to install your Inspiron 14z-5423 (P35G-001) DVD Optical Drive.
Before you begin


Dell repair manual service precautions
Tools needed for this laptop repair
- 1 x small phillips head screwdriver
- 1 x small plastic scribe
Inspiron 5423 Keyboard
Inspiron 14z 5423 Keyboard
|
|
DIY Discount - Parts-People.com offers 5% off to all DO-IT-YOURSELFERS!
Use this coupon code to save 5% off these parts DIYM514
|
Video tutorial repair manual
Installation and Removal Instructions
Inspiron 14z (5423) DVD Optical Drive
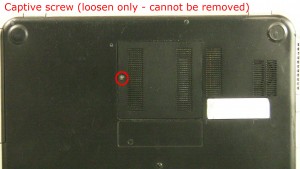

Step 1
- Loosen the screw (cannot be removed).
- Remove the door.
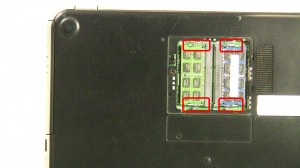

Step 2
- Separate the clips and remove the memory.
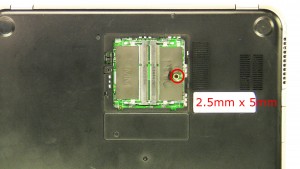

Step 3
- Remove the screw under the memory (1 x M2.5 x 5mm).
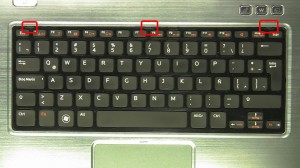

Step 4
- Turn the laptop over and open it up.
- Press the keyboard latches in and turn the keyboard over.
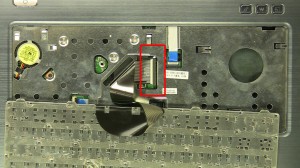

Step 5
- Unplug the keyboard cable.
- Remove the keyboard.

 Laptop & Tablet Parts



2 Responses to Dell Inspiron 14z-5423 (P35G-001) Keyboard Removal and Installation