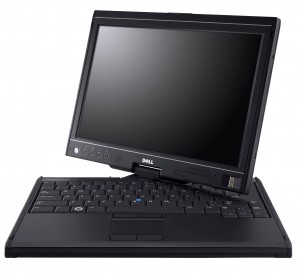
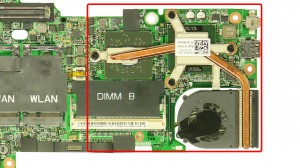
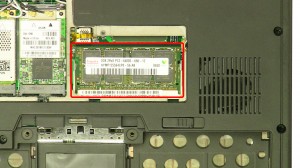
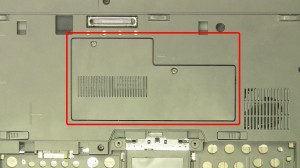
In this Dell laptop tutorial we are going to show you how to install and replace the CMOS Battery on your Latitude XT laptop. These installation instructions have be made into 5 easy to follow printable steps. We have also create a video tutorial that shows you how to install your Latitude XT CMOS Battery.
Before you begin


Dell repair manual service precautions
Tools needed for this laptop repair
- 1 x small phillips head screwdriver
- 1 x small plastic scribe
Latitude XT Battery
Latitude XT Battery
|
|
DIY Discount - Parts-People.com offers 5% off to all DO-IT-YOURSELFERS!
Use this coupon code to save 5% off these parts DIYM514
|
Video tutorial repair manual
Installation and Removal Instructions
Latitude XT CMOS Battery
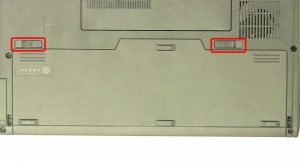

Step 1
- Slide the latches over and remove the battery.
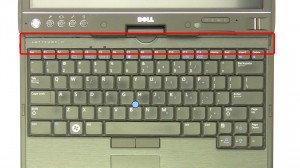

Step 2
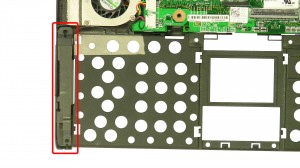
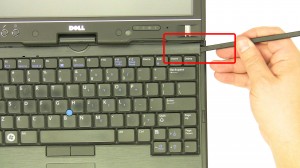
- Using a flat head screwdriver or plastic scribe, pry up the hinge cover.
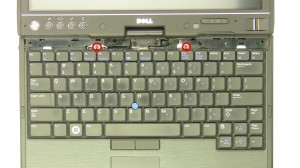

Step 3
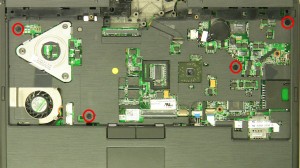
- Remove the screws.
- Carefully lift the keyboard.
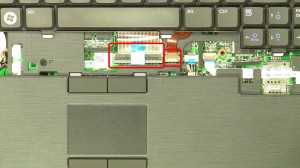

Step 4
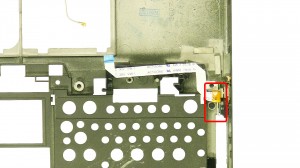
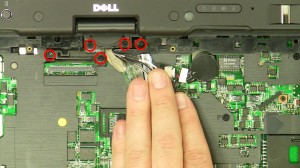
- Unplug the keyboard cables.
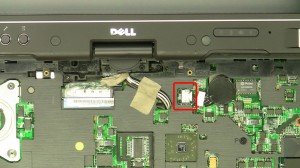

Step 5
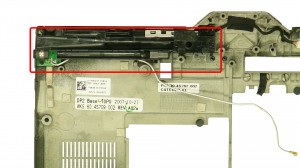
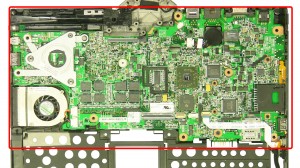
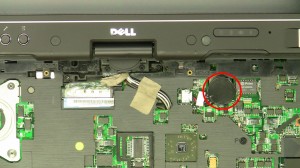
- Unplug & remove the CMOS battery.

 Laptop & Tablet Parts


