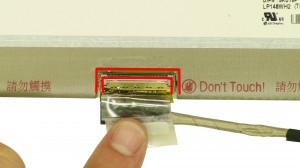
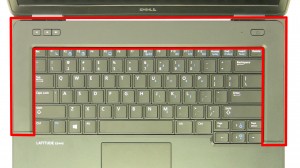
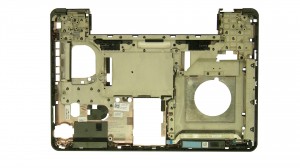
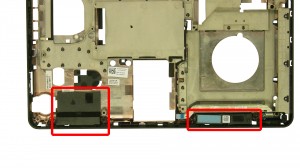
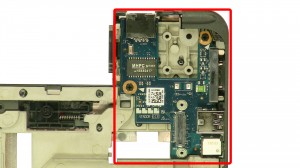
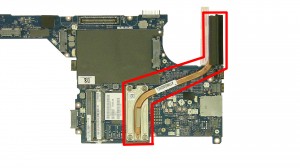
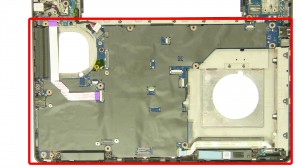
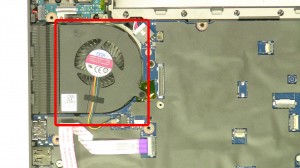
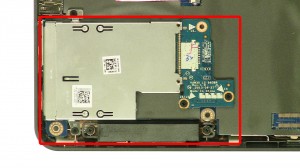
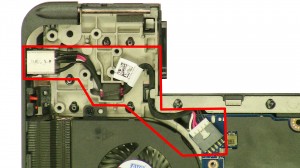
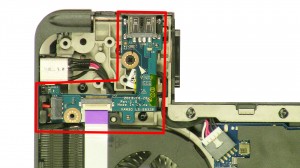
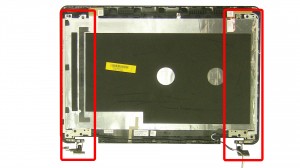
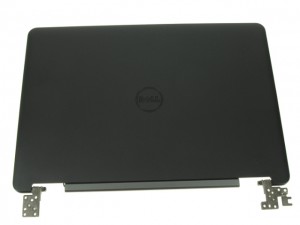
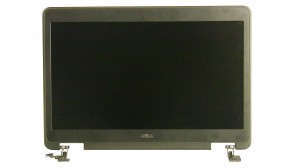
In this Dell laptop tutorial we are going to show you how to install and replace the LCD Bezel on your Latitude E5440 laptop. These installation instructions have be made into 2 easy to follow printable steps. We have also create a video tutorial that shows you how to install your Latitude E5440 LCD Bezel.
Before you begin


Dell repair manual service precautions
Tools needed for this laptop repair
- 1 x small phillips head screwdriver
- 1 x small plastic scribe
Latitude E5440 LCD Bezel
Latitude E5440 LCD Bezel
|
|
DIY Discount - Parts-People.com offers 5% off to all DO-IT-YOURSELFERS!
Use this coupon code to save 5% off these parts DIYM514
|
Video tutorial repair manual
Installation and Removal Instructions
Latitude E5440 LCD Bezel
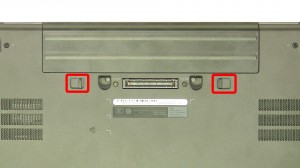

Step 1
- Slide the latches over.
- Lift the battery out of the laptop.
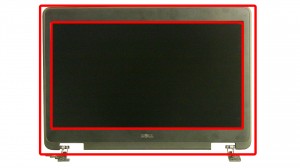

Step 2
- Open the laptop.
- Unsnap the bezel, working around the the edge of the screen.

 Laptop & Tablet Parts


