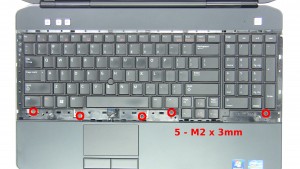
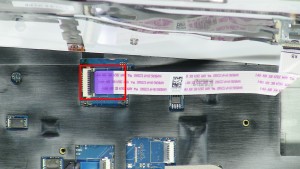
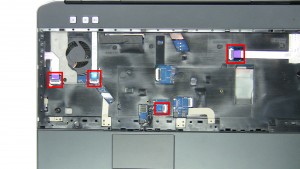
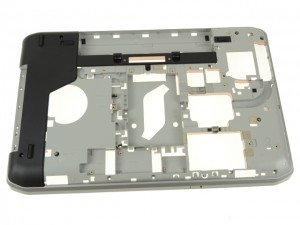
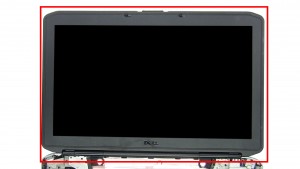
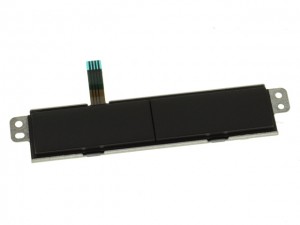
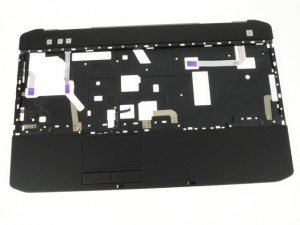
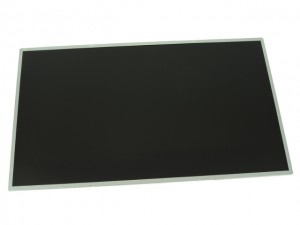
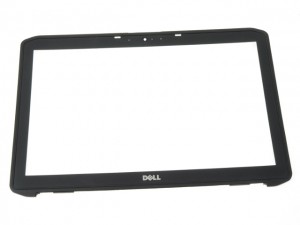
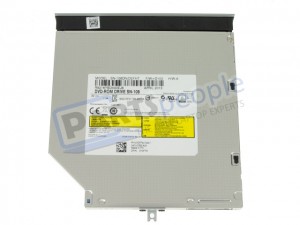
In this Dell laptop tutorial we are going to show you how to install and replace the LCD Display Assembly on your Latitude E5530 (P28G-001) laptop. These installation instructions have be made into 13 easy to follow printable steps. We have also create a video tutorial that shows you how to install your Latitude E5530 (P28G-001) LCD Display Assembly.
Before you begin


Dell repair manual service precautions
Tools needed for this laptop repair
- 1 x small phillips head screwdriver
- 1 x small plastic scribe
Latitude E5530 Screen
Latitude E5530 Screen
|
|
DIY Discount - Parts-People.com offers 5% off to all DO-IT-YOURSELFERS!
Use this coupon code to save 5% off these parts DIYM514
|
Installation and Removal Instructions
Latitude E5530 (P28G-001) LCD Display Assembly
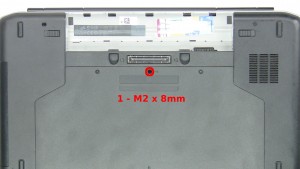

Step 2
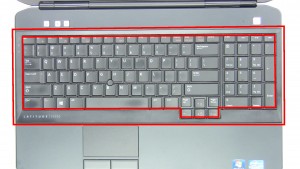
- Remove the 1 - M2 x 8mm keyboard screw.
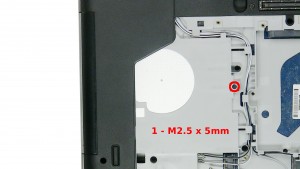
- Remove the 2 - M2.5 x 5mm screws.
- Remove the Access Door.
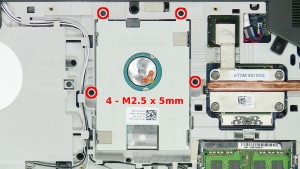

Step 4
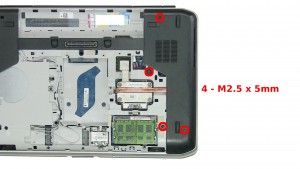
- Remove the 4 - M2.5 x 5mm screws.
- Use the pull tab to slide the Hard Drive down and unseat it from the motherboard.
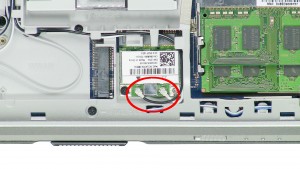

Step 6
- Unplug & loosen the antenna cables.
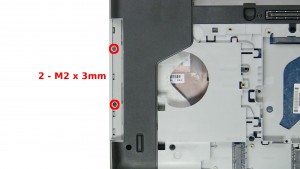

Step 7
- Remove the 2 - M2 x 3mm screws under the optical drive.
- Remove the 5 - M2.5 x 8mm screws.
- Remove the 5 - M2.5 x 5mm screws.
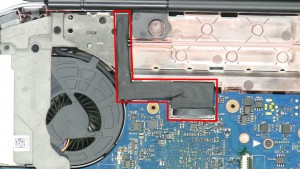

Step 12
- Unplug the LCD cable.
- Pull the antenna cables through the motherboard.
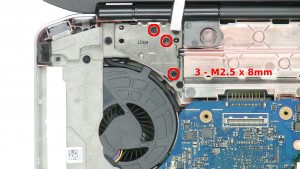

Step 13
- Remove the 3 - M2.5 x 8mm left hinge screws.
- Remove the 3 - M2.5 x 8mm right hinge screws
- Remove the LCD Display Assembly.
Latitude E5530 Screen
Latitude E5530 Screen
|
|
DIY Discount - Parts-People.com offers 5% off to all DO-IT-YOURSELFERS!
Use this coupon code to save 5% off these parts DIYM514
|

 Laptop & Tablet Parts


