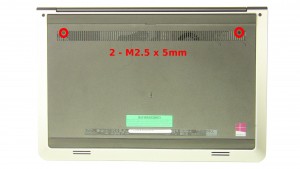
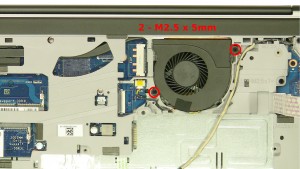
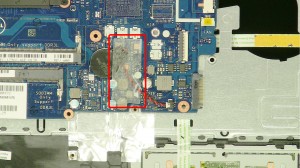
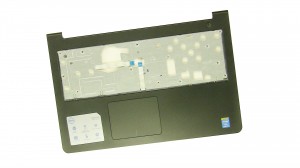
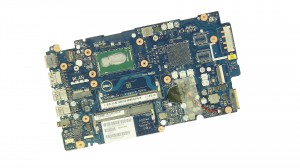
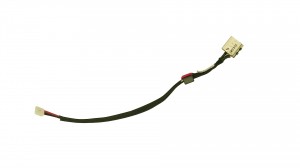
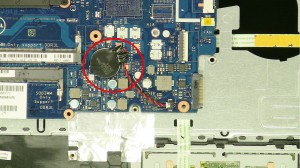
In this Dell laptop tutorial we are going to show you how to install and replace the CMOS Battery on your Inspiron 15-5542 (P39F001) laptop. These installation instructions have be made into 10 easy to follow printable steps. We have also create a video tutorial that shows you how to install your Inspiron 15-5542 (P39F001) CMOS Battery.
Before you begin


Dell repair manual service precautions
Tools needed for this laptop repair
- 1 x small phillips head screwdriver
- 1 x small plastic scribe
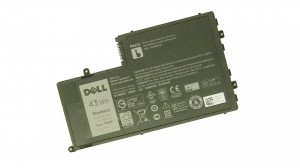
Inspiron 5542 Battery
Inspiron 15 5542 Battery
|
|
DIY Discount - Parts-People.com offers 5% off to all DO-IT-YOURSELFERS!
Use this coupon code to save 5% off these parts DIYM514
|
Video tutorial repair manual
Installation and Removal Instructions
Inspiron 15-5542 (P39F001) CMOS Battery
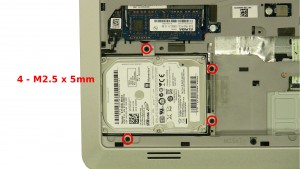

Step 3
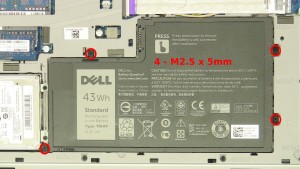
- Remove the 4 - M2.5 x 5mm screws.
- Using the tab, lift the Hard Drive out of the laptop.
- Unplug the hard drive connector cable.
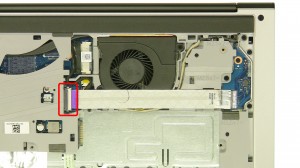

Step 4
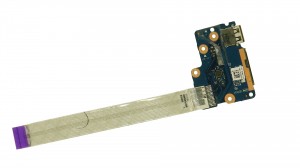
- Unplug & loosen the USB / SD circuit board cable.
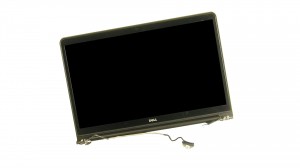
- Unplug and loosen the LCD cable.
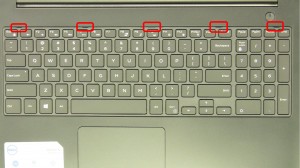

Step 6
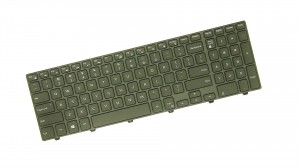
- Press the latches in to loosen the keyboard.
- Carefully turn the keyboard over.
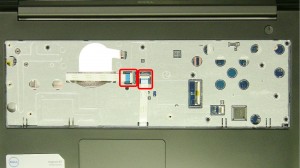

Step 8
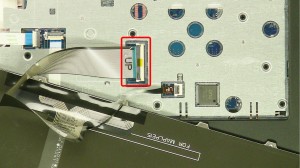
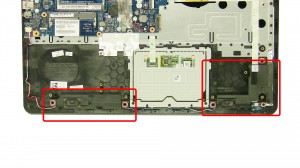
- Unplug the palmrest cables.
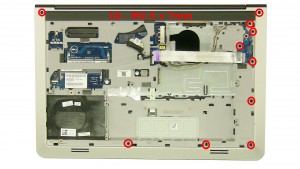
- Remove the 9 - M2.5 x 5mm palmrest screws.
- Remove the 1 - M2.5 x 5mm screw under the palmrest cable.

Step 9
- Close the laptop & turn it over.
- Remove the 10 - M2.5 x 8mm bottom screws.
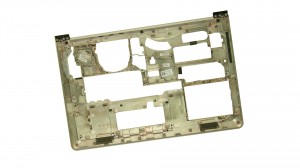
- Remove the Bottom Base by carefully prying it up around the edge of the laptop.
Inspiron 5542 Battery
Inspiron 15 5542 Battery
|
|
DIY Discount - Parts-People.com offers 5% off to all DO-IT-YOURSELFERS!
Use this coupon code to save 5% off these parts DIYM514
|

 Laptop & Tablet Parts


