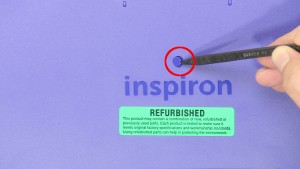
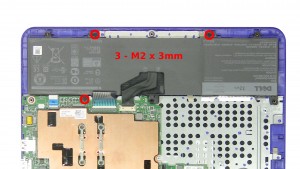
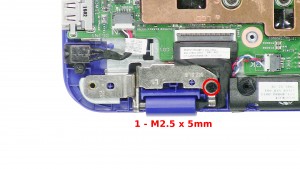
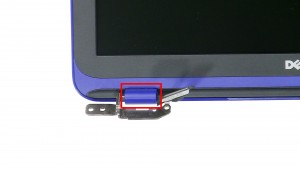
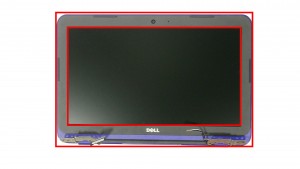
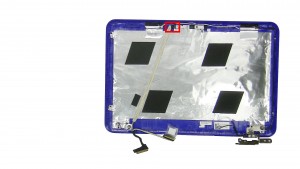
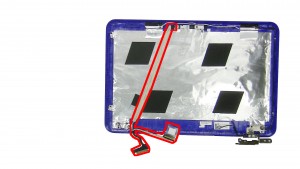
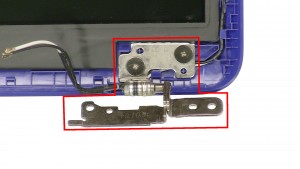
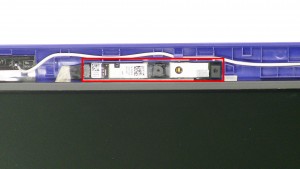
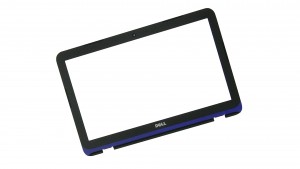
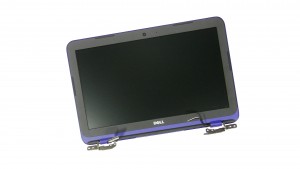
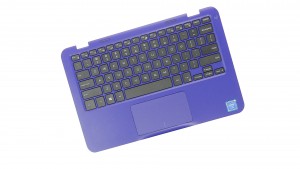
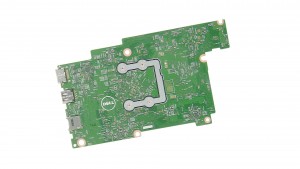
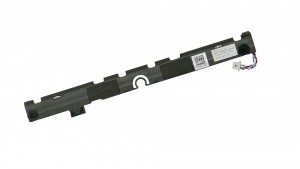
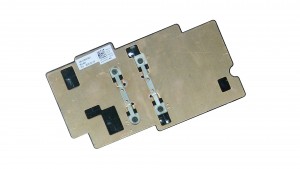
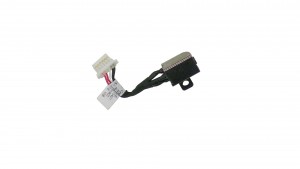
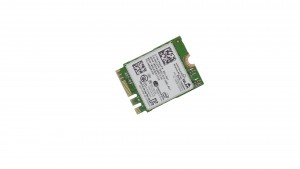
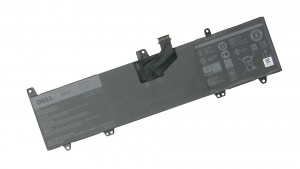
In this Dell laptop tutorial we are going to show you how to install and replace the LCD Cable on your Inspiron 11-3162 (P24T001) laptop. These installation instructions have be made into 13 easy to follow printable steps. We have also create a video tutorial that shows you how to install your Inspiron 11-3162 (P24T001) LCD Cable.
Before you begin


Dell repair manual service precautions
Tools needed for this laptop repair
- 1 x small phillips head screwdriver
- 1 x small plastic scribe
Inspiron 3162 LCD Cable
Inspiron 11 3162 LCD Cable
|
|
DIY Discount - Parts-People.com offers 5% off to all DO-IT-YOURSELFERS!
Use this coupon code to save 5% off these parts DIYM514
|
Video tutorial repair manual
Installation and Removal Instructions
Inspiron 11-3162 (P24T001) LCD Cable
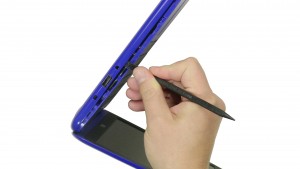

Step 2
- Unsnap the bottom cover working your way around the edges of the base.
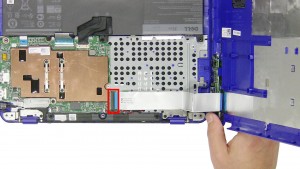

Step 3
- Carefully turn the base over and unplug the USB / Audio circuit board cable.
- Remove the Bottom Base.
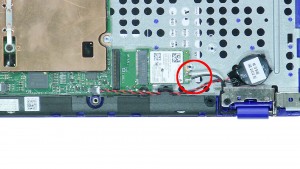

Step 6
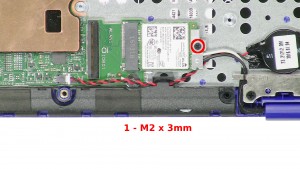
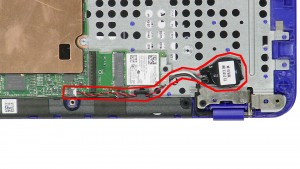
- Unplug the antenna cables.
- Remove the 1 - M2 x 3mm screw.
- Remove the bracket.
- Unplug the LCD cable.
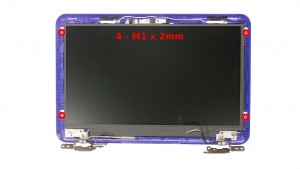

Step 10
- Remove the 4 - M1 x 2mm screws.
- Lift the screen and turn it over.
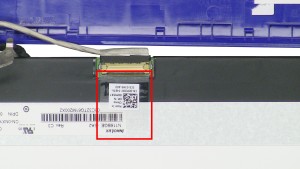

Step 11
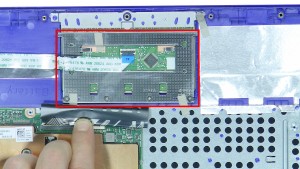
- Loosen the tape.
- Lift the cable latch.
- Unplug the LCD cable.
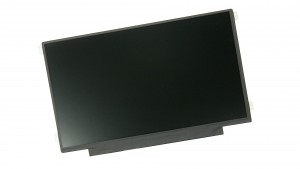

Step 12
- Remove the LCD Screen.
Inspiron 3162 LCD Cable
Inspiron 11 3162 LCD Cable
|
|
DIY Discount - Parts-People.com offers 5% off to all DO-IT-YOURSELFERS!
Use this coupon code to save 5% off these parts DIYM514
|

 Laptop & Tablet Parts


