In this Dell laptop tutorial we are going to show you how to install and replace the Keyboard on your Inspiron 15-7568 (P55F002) laptop. These installation instructions have be made into 16 easy to follow printable steps. We have also create a video tutorial that shows you how to install your Inspiron 15-7568 (P55F002) Keyboard.
Before you begin


Dell repair manual service precautions
Tools needed for this laptop repair
- 1 x small phillips head screwdriver
- 1 x small plastic scribe
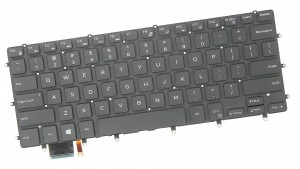
Inspiron 7568 Keyboard
Inspiron 15 7568 Keyboard
|
|
DIY Discount - Parts-People.com offers 5% off to all DO-IT-YOURSELFERS!
Use this coupon code to save 5% off these parts DIYM514
|
Video tutorial repair manual
Installation and Removal Instructions
Inspiron 15-7568 (P55F002) Keyboard
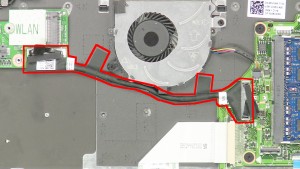

Step 4
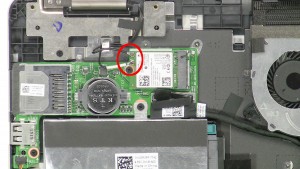
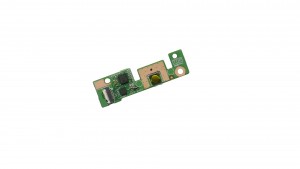
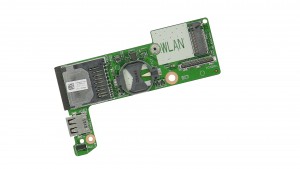
- Unplug & remove the daughter board cable.
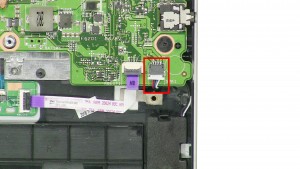
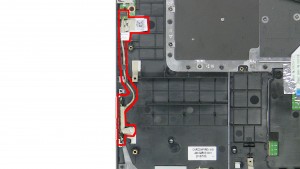
- Unplug the power / volume cable.
- Remove the Power Button / Volume Circuit Board.
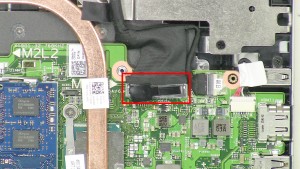

Step 9
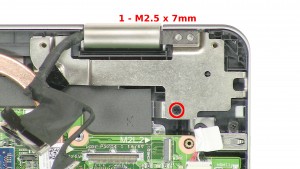
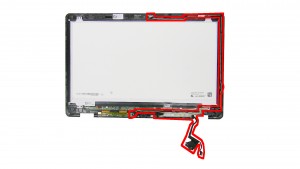
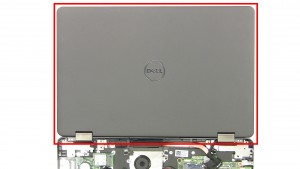
- Unplug the LCD cable.
- Unplug the touchscreen cable.
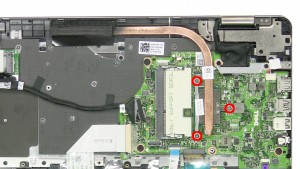

Step 12
- Loosen the heatsink screws.
- Remove & clean the Heatsink.
- ***Reapply thermal compound before reinstalling the heatsink.
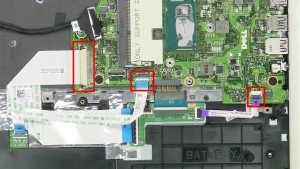

Step 13
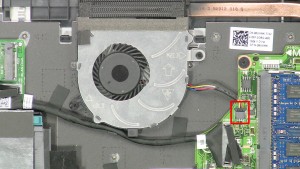
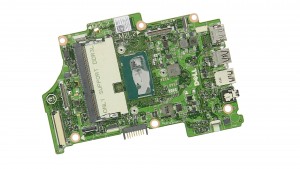
- Unplug the motherboard cables.
- Remove the 3 - M2 x 2mm Wafer screws.
- Remove the Motherboard.
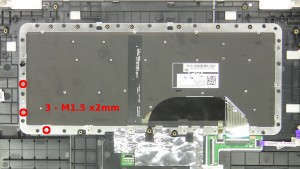

Step 15
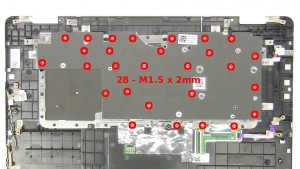
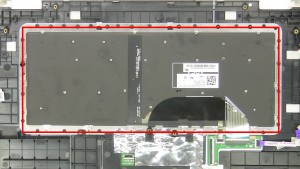
- Remove the keyboard screws.
- Unplug the keyboard cable.
- Unplug the backlight cable.
Inspiron 7568 Keyboard
Inspiron 15 7568 Keyboard
|
|
DIY Discount - Parts-People.com offers 5% off to all DO-IT-YOURSELFERS!
Use this coupon code to save 5% off these parts DIYM514
|

 Laptop & Tablet Parts


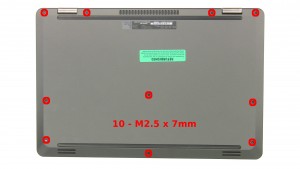
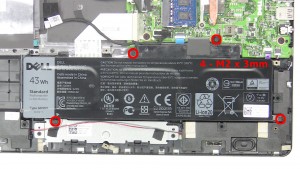
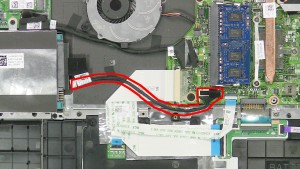


One Response to Dell Inspiron 15-7568 (P55F002) Keyboard Removal and Installation