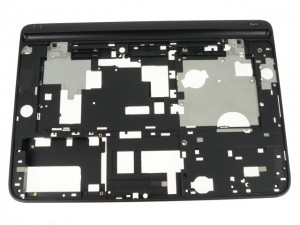
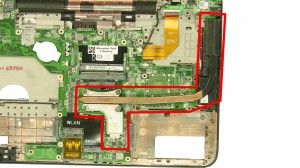
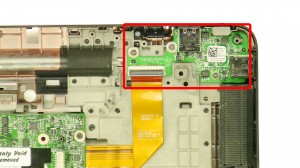
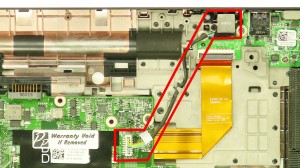
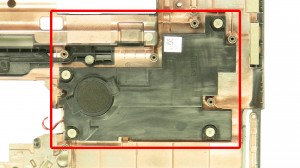
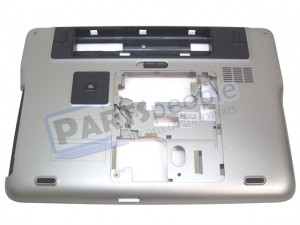
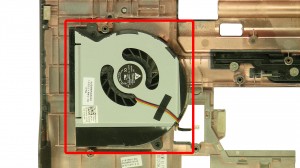
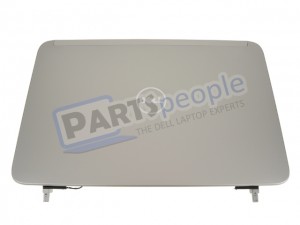
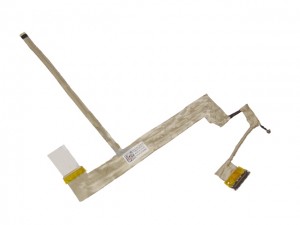
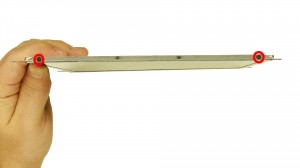
In this Dell laptop tutorial we are going to show you how to install and replace the LCD Screen on your XPS 15-L501X (P11F001) laptop. These installation instructions have be made into 13 easy to follow printable steps. We have also create a video tutorial that shows you how to install your XPS 15-L501X (P11F001) LCD Screen.
Before you begin


Dell repair manual service precautions
Tools needed for this laptop repair
- 1 x small phillips head screwdriver
- 1 x small plastic scribe
XPS L501X LCD Screen
XPS 15 L501X LCD Screen
|
|
DIY Discount - Parts-People.com offers 5% off to all DO-IT-YOURSELFERS!
Use this coupon code to save 5% off these parts DIYM514
|
Video tutorial repair manual
Installation and Removal Instructions
XPS 15-L501X (P11F001) LCD Screen
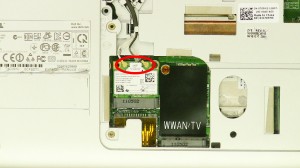

Step 3
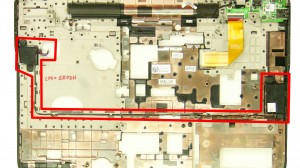
- Unplug & loosen the antenna cables.
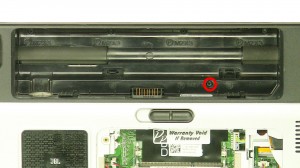

Step 4
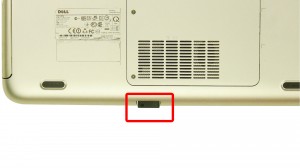
- Remove the bottom screw.
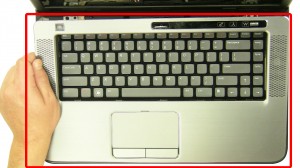
- Release the latches to loosen the palmrest.
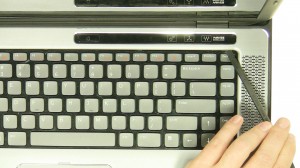

Step 5
- Turn the laptop over and open it up.
- Carefully separate the palmrest from the base.
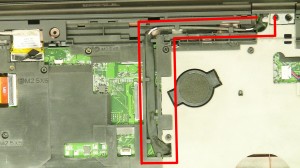

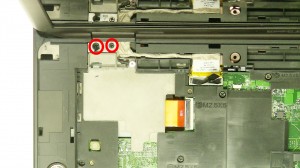
Step 8
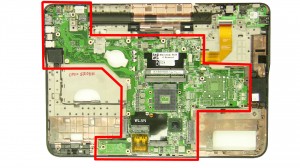
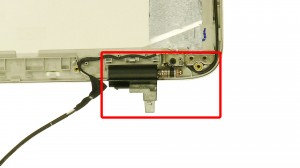
- Loosen the antenna cables.
- Loosen the ground screw.
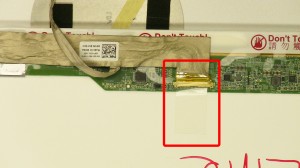
- Unplug & loosen the display cable.
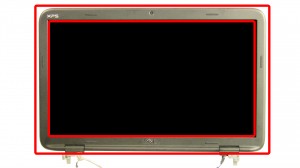

Step 10
- Unsnap the bezel around the edge of the screen.
- Remove the LCD Bezel.
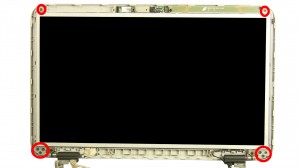

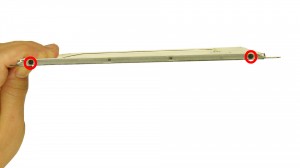
Step 11
- Remove the screen screws.
- Carefully turn the screen over.
XPS L501X LCD Screen
XPS 15 L501X LCD Screen
|
|
DIY Discount - Parts-People.com offers 5% off to all DO-IT-YOURSELFERS!
Use this coupon code to save 5% off these parts DIYM514
|

 Laptop & Tablet Parts


