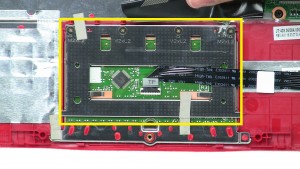
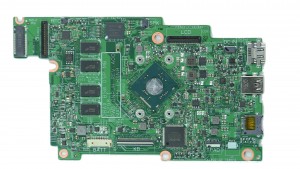
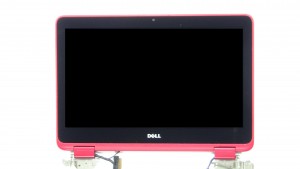
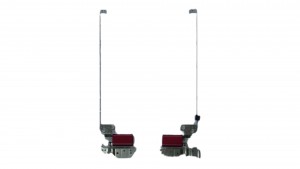
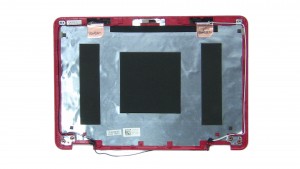
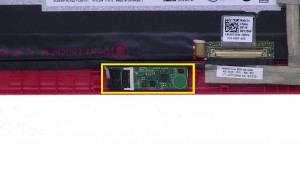
In this Dell laptop tutorial we are going to show you how to install and replace the LCD Cable on your Inspiron 11-3179 (P25T002) laptop. These installation instructions have be made into 7 easy to follow printable steps. We have also create a video tutorial that shows you how to install your Inspiron 11-3179 (P25T002) LCD Cable.
Before you begin


Dell repair manual service precautions
Tools needed for this laptop repair
- 1 x small phillips head screwdriver
- 1 x small plastic scribe
Inspiron 113179 LCD CableInspiron 11-3179 LCD Cable
Video tutorial repair manual
Installation and Removal Instructions
Inspiron 11-3179 (P25T002) LCD Cable
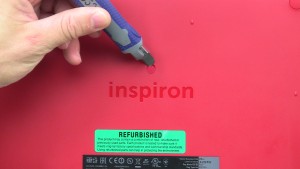

Step 1
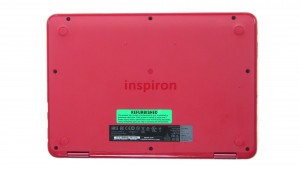
- Use thin object to remove center screw cover.
- Unscrew and remove Bottom Base Cover (9 x M2.5 x 7mm).
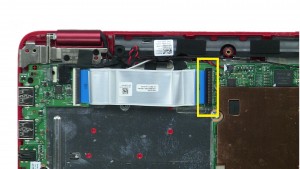

Step 4
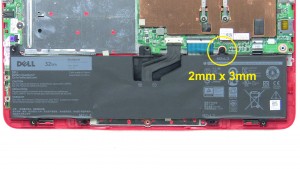
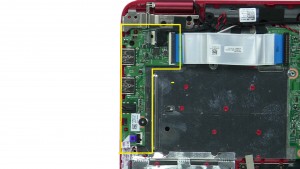
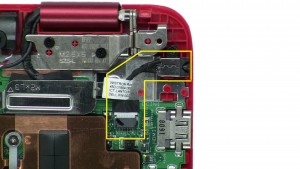
- Disconnect Ribbon Cable from motherboard.
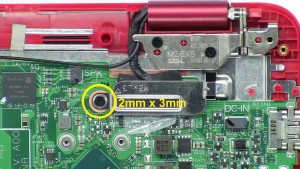
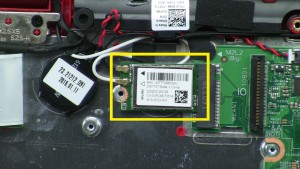
- Unscrew bracket (1 x M2 x 3mm).
- Disconnect antenna cables and remove WLAN Card.
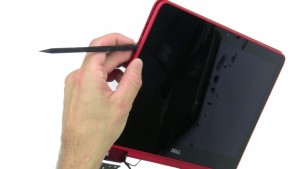

Step 6
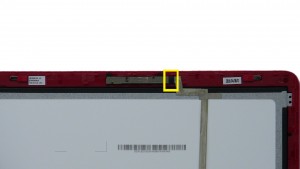
- Use fingers to separate back from LCD Screen.
Inspiron 113179 LCD CableInspiron 11-3179 LCD Cable

 Laptop & Tablet Parts


