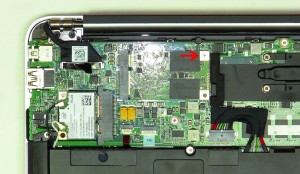
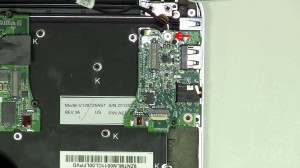
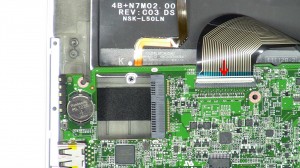
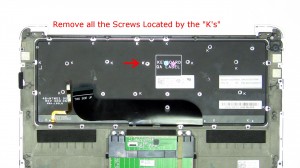
In this Dell laptop tutorial we are going to show you how to install and replace the LCD Display Assembly on your Dell XPS 13-9333 (P29G001) Ultrabook laptop. These installation instructions have be made into 7 easy to follow printable steps. We have also create a video tutorial that shows you how to install your Dell XPS 13-9333 (P29G001) Ultrabook LCD Display Assembly.
Before you begin


Dell repair manual service precautions
Tools needed for this laptop repair
- 1 x small phillips head screwdriver
- 1 x T5 star screwdriver
- 1 x small plastic scribe
|
|
DIY Discount - Parts-People.com offers 5% off to all DO-IT-YOURSELFERS!
Use this coupon code to save 5% off these parts DIYM514
|
Video tutorial repair manual
Installation and Removal Instructions
Dell XPS 13-9333 (P29G001) Ultrabook LCD Display Assembly
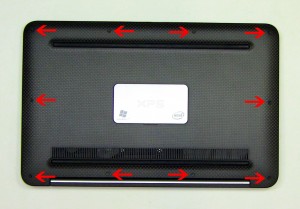

Step 1
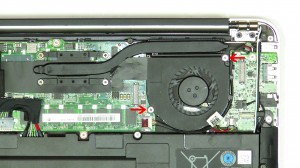
- Remove the 10 base screws.
- Lift the base cover off of laptop.
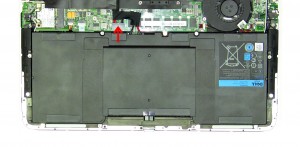

Step 2
- Unplug the battery.
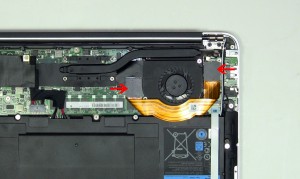

Step 3
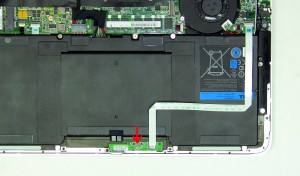
- Unplug the daughter board ribbon cable.
- Unplug the LED circuit board cable.
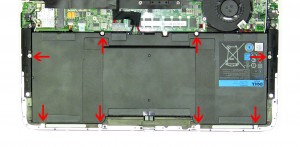

Step 4
- Remove the 8 battery screws.
- Remove the battery from the laptop.
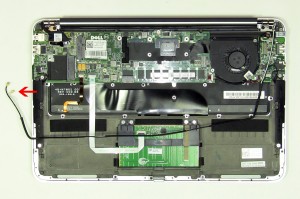

Step 5
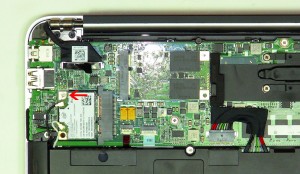
- Loosen the wireless antenna cables.
- Unplug the LCD cable.
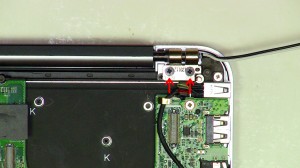

Step 6
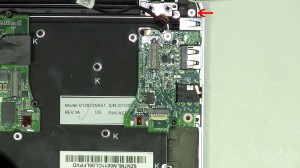
- Remove the left hinge screws.
- Remove the right hinge screws.
- Remove the screen from the ultrabook.
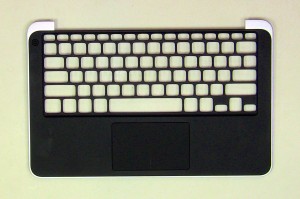

Step 7
- The remaining piece is the palmrest touchpad assembly.
|
|
DIY Discount - Parts-People.com offers 5% off to all DO-IT-YOURSELFERS!
Use this coupon code to save 5% off these parts DIYM514
|

 Laptop & Tablet Parts


