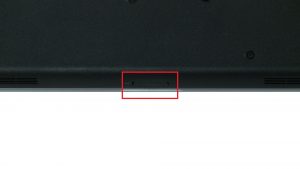
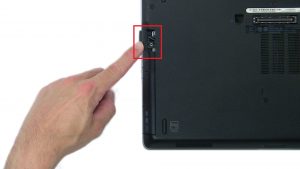
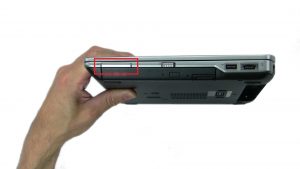
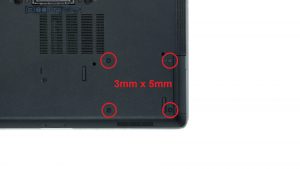
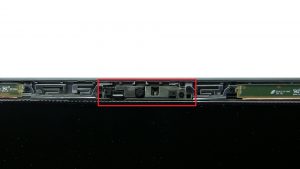
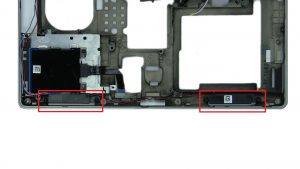
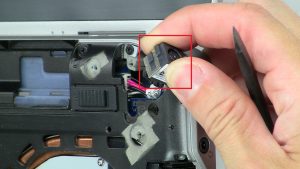
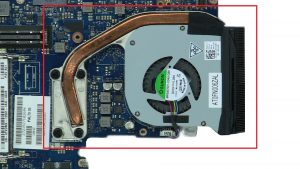
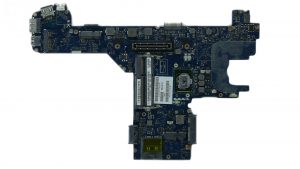
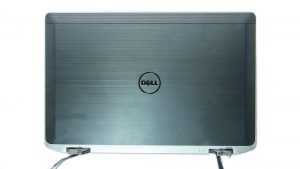
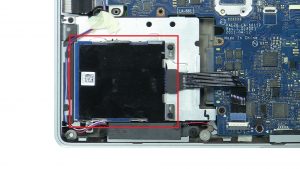
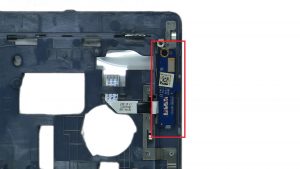
In this Dell laptop tutorial we are going to show you how to install and replace the Audio / Video Circuit Board on your Latitude E6320 (P12S001) laptop. These installation instructions have be made into 17 easy to follow printable steps. We have also create a video tutorial that shows you how to install your Latitude E6320 (P12S001) Audio / Video Circuit Board.
Before you begin


Dell repair manual service precautions
Tools needed for this laptop repair
- 1 x small phillips head screwdriver
- 1 x small plastic scribe
|
|
DIY Discount - Parts-People.com offers 5% off to all DO-IT-YOURSELFERS!
Use this coupon code to save 5% off these parts DIYM514
|
Video tutorial repair manual
Installation and Removal Instructions
Latitude E6320 (P12S001) Audio / Video Circuit Board
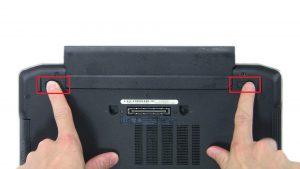

Step 1
- Slide out locking tabs and remove Battery.
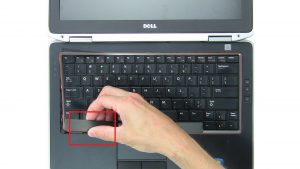

Step 8
- Use fingers to pry apart and remove Keyboard Bezel.
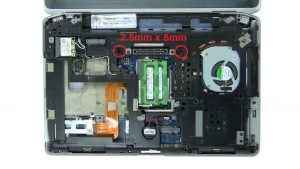

Step 9
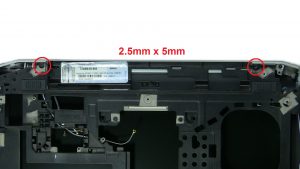
- Unscrew and turn over keyboard (2 x M2.5 x 5mm) (4 x M2 x 3mm).
- Disconnect and remove Keyboard.
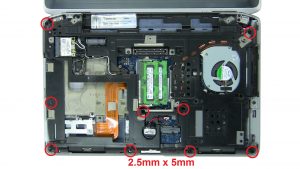

Step 10
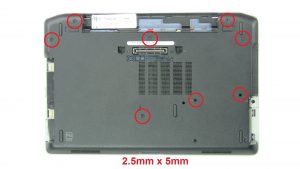
- Remove bottom palmrest screws (9 x M2.5 x 5mm) (1 x M2 x 3mm).
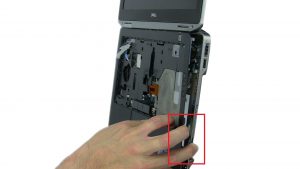
- Disconnect palmrest cables.
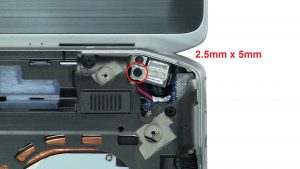
- Remove palmrest screws (6 x M2.5 x 5mm).
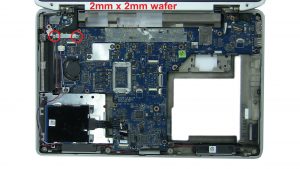

Step 13
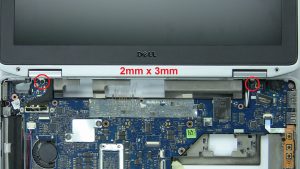
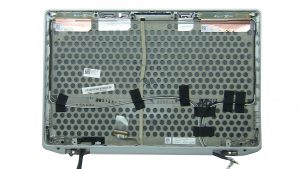
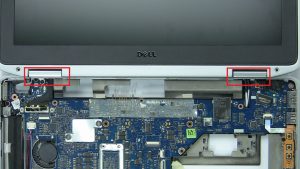
- Unscrew and remove display cable bracket (2 x M2 x 2mm wafer).
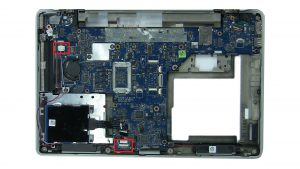
- Disconnect and loosen display cables.
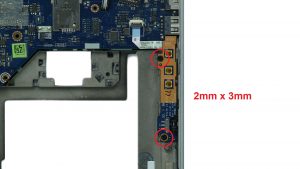

Step 15
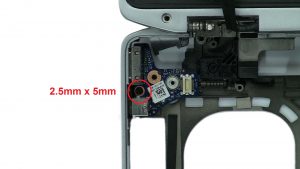
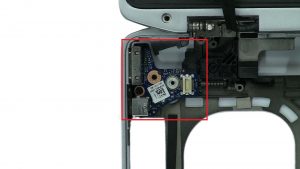
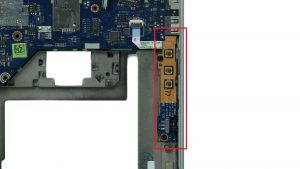
- Remove circuit board screws (2 x M2 x 3mm).
- Disconnect and remove volume button circuit board.
|
|
DIY Discount - Parts-People.com offers 5% off to all DO-IT-YOURSELFERS!
Use this coupon code to save 5% off these parts DIYM514
|

 Laptop & Tablet Parts


