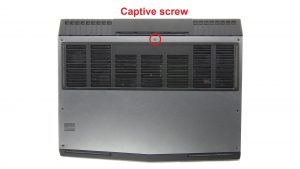
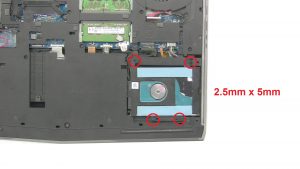
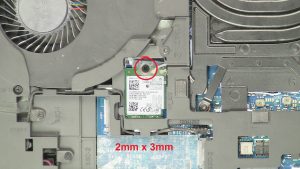
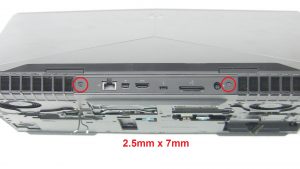
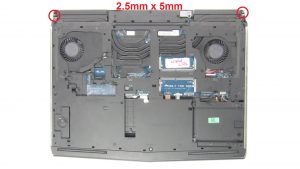
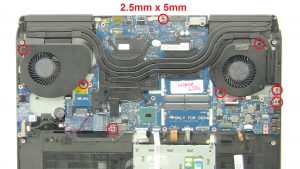
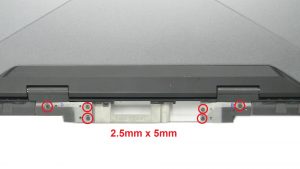
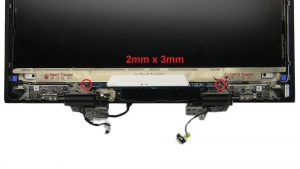
In this Dell laptop tutorial we are going to show you how to downgrade to a Full HD 1080p Screen on your Dell Alienware 17 R4 (P12S001) laptop. These installation instructions have been made into 22 easy to follow printable steps. We have also created a video tutorial that shows you how to downgrade to a Full HD 1080p on your Dell Alienware 17 R4 (P12S001).
Before you begin


Dell repair manual service precautions
Tools needed for this laptop repair
- 1 x small phillips head screwdriver
- 1 x small plastic scribe
|
|
DIY Discount - Parts-People.com offers 5% off to all DO-IT-YOURSELFERS!
Use this coupon code to save 5% off these parts DIYM514
|
Video tutorial repair manual
Installation and Removal Instructions
Dell Alienware 17 R4 (P12S001) Full HD 1080p Screen Downgrade
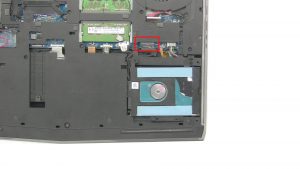

Step 2
- Disconnect battery cable.
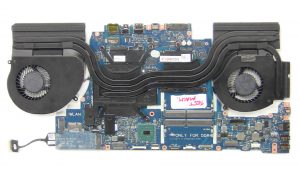

Step 8
- Remove Motherboard with heatsink.
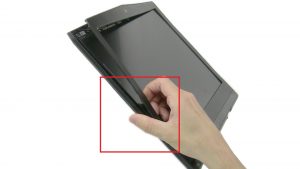

Step 10
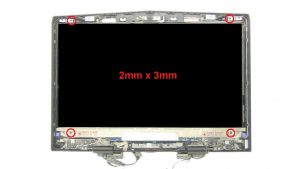
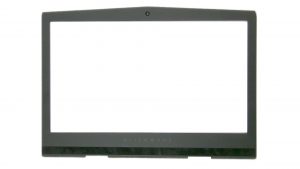
- Use fingers to separate and turn over bezel.
- Disconnect and remove Bezel.
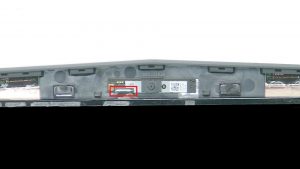

Step 11
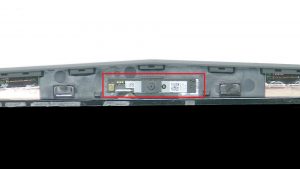
- Remove and disconnect Web Camera.
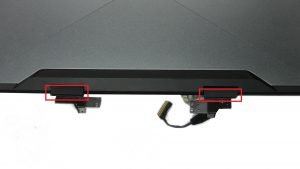

Step 14
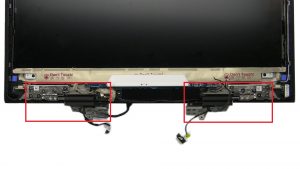
- Pry apart and remove hinge caps.
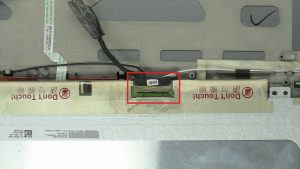

Step 17
- ***The following will show the steps needed to downgrade from a UHD 4K Screen to a Full HD 1080p Screen***
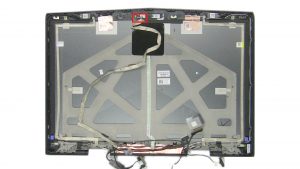
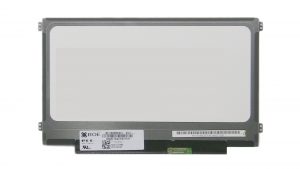
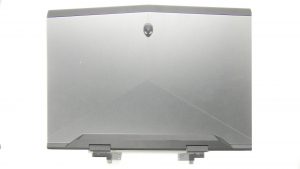
- Attach display cable and place Full HD 1080p Screen onto back cover.
- Connect Web Camera and place on Back Cover.
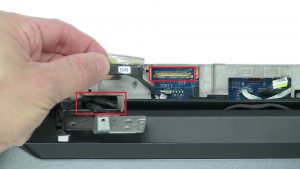

Step 18
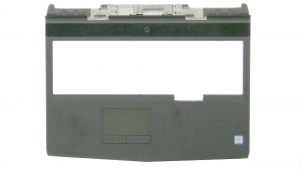
- Guide display cable through palmrest and connect to motherboard.
- Guide antenna cables through palmrest.
Step 19
- Connect and attach Tobii Eye Tracker.
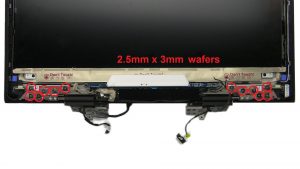

Step 20
- Attach hinges and replace screws (12 x M2.5 x 3mm wafer).
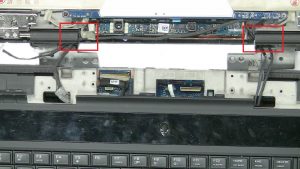

Step 21
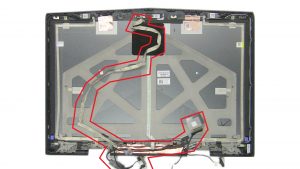
- Guide display cables through hinge assembly.
- Replace hinge caps.
- Replace display bezel.
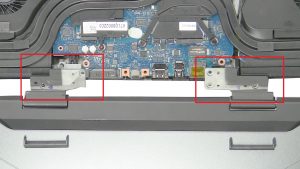

Step 22
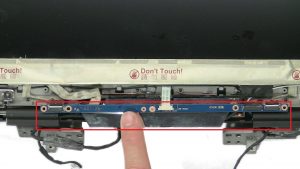
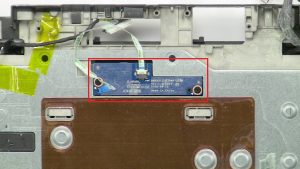
- Replace display assembly then connect Tobii Eye Tracker and logo board.
- ***Next repeat steps 1-9 in reverse order to complete your downgrade.***
|
|
DIY Discount - Parts-People.com offers 5% off to all DO-IT-YOURSELFERS!
Use this coupon code to save 5% off these parts DIYM514
|

 Laptop & Tablet Parts


