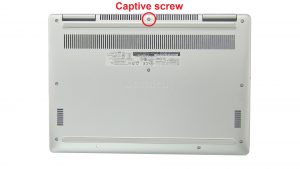
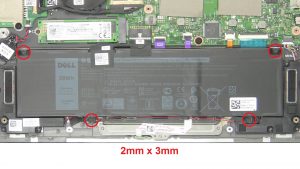
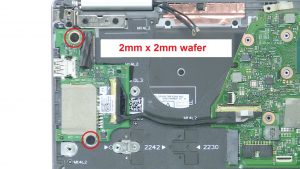
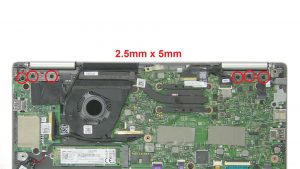
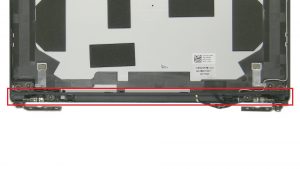
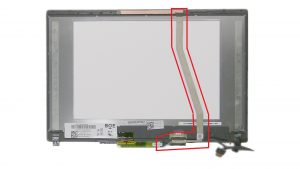
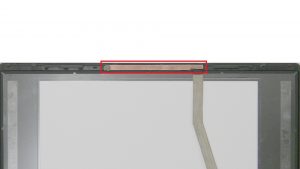
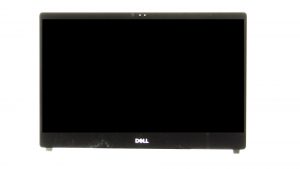
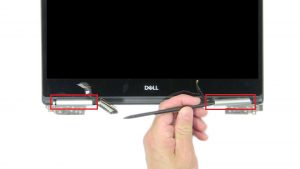
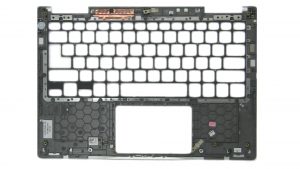
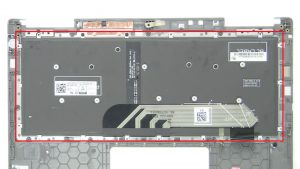
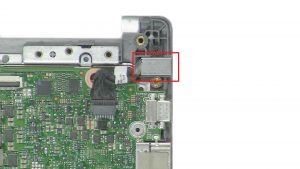
In this Dell laptop tutorial we are going to show you how to install and replace the Keyboard on your Dell Inspiron 13-7380 laptop. These installation instructions have be made into 13 easy to follow printable steps. We have also create a video tutorial that shows you how to install your Dell Inspiron 13-7380 Keyboard.
Before you begin


Dell repair manual service precautions
Tools needed for this laptop repair
- 1 x small phillips head screwdriver
- 1 x small plastic scribe
Inspiron 7380 Keyboard
Inspiron 13 7380 Keyboard
|
|
DIY Discount - Parts-People.com offers 5% off to all DO-IT-YOURSELFERS!
Use this coupon code to save 5% off these parts DIYM514
|
Video tutorial repair manual
Installation and Removal Instructions
Dell Inspiron 13-7380 Keyboard
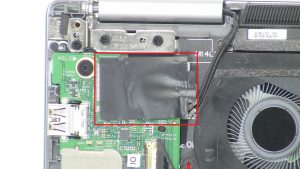

Step 3
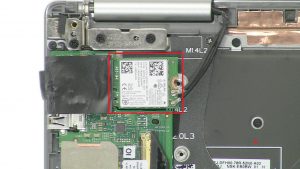
- Peel apart adhesive cover from WLAN card.
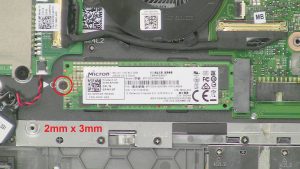
- Unscrew and remove bracket (1 x M2 x 3mm).
- Disconnect antenna cables and remove WLAN card.
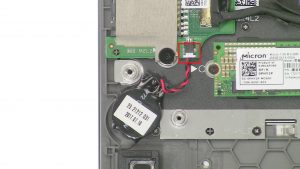

Step 4
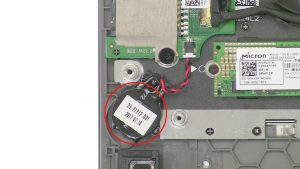
- Disconnect and remove CMOS battery.
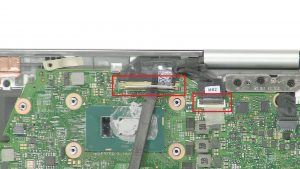

Step 6
- Disconnect display cable.
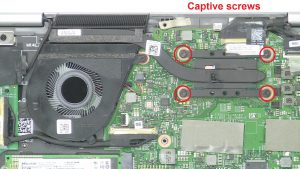

Step 9
- Unscrew and remove heatsink (4 X captive screws).
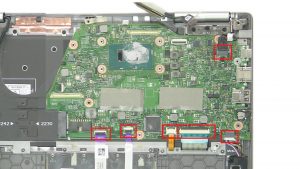

Step 11
- Disconnect motherboard cables.
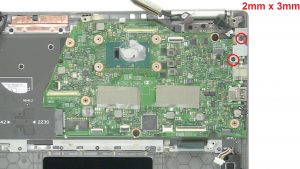

Step 12
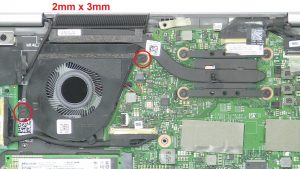
- Unscrew and remove bracket (2 x M2 x 3mm).
- Unscrew and remove motherboard (2 x M2 x 2mm wafer).
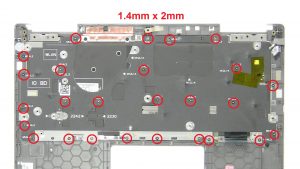

Step 13
- Unscrew and remove keyboard bracket (27 X 1.4mm x 2mm).
- Unscrew and remove keyboard (6 X 1.2mm x 1.5mm).
Inspiron 7380 Keyboard
Inspiron 13 7380 Keyboard
|
|
DIY Discount - Parts-People.com offers 5% off to all DO-IT-YOURSELFERS!
Use this coupon code to save 5% off these parts DIYM514
|

 Laptop & Tablet Parts


