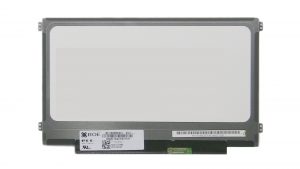
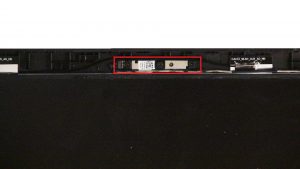
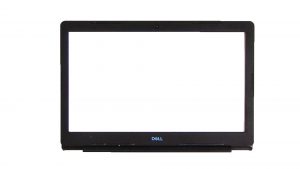
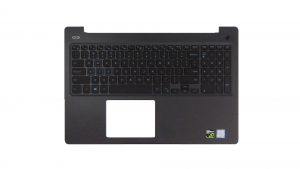
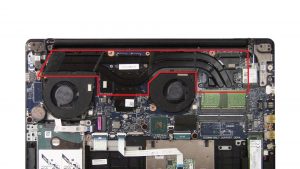
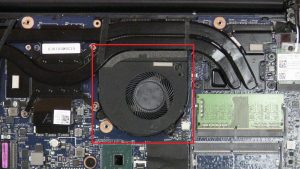
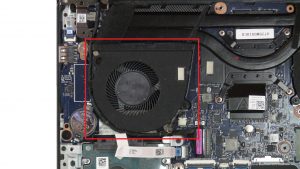
In this Dell laptop tutorial we are going to show you how to install and replace the Back Cover on your Dell G3 15-3579 laptop. These installation instructions have be made into 13 easy to follow printable steps. We have also create a video tutorial that shows you how to install your Dell G3 15-3579 Back Cover.
Before you begin


Dell repair manual service precautions
Tools needed for this laptop repair
- 1 x small phillips head screwdriver
- 1 x small plastic scribe
G3 153579 Back CoverG3 15-3579 Back Cover
Video tutorial repair manual
Installation and Removal Instructions
Dell G3 15-3579 Back Cover

Step 1
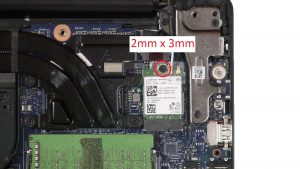
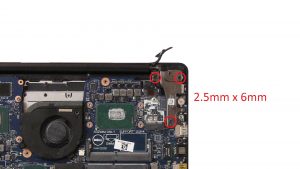
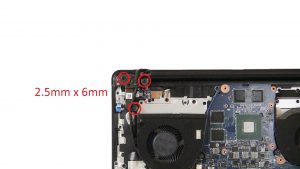
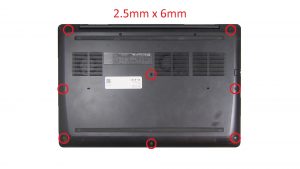
- Unscrew base cover (8 x M2.5 x 6mm)(2 x captive screws).
- Use fingers to pry apart and remove Base Cover.
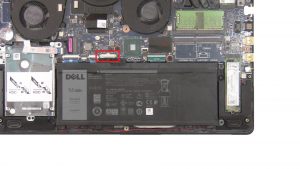

Step 2
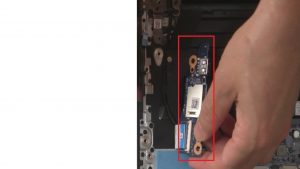
- Disconnect battery.
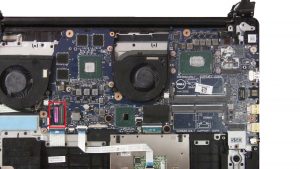

Step 6
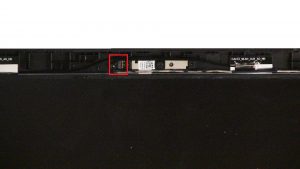
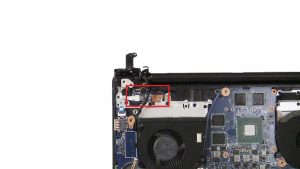
- Disconnect display cable.


Step 7
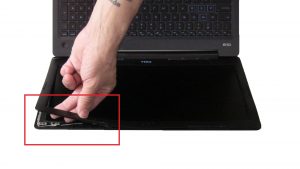
- Separate Display Assembly from Palmrest.
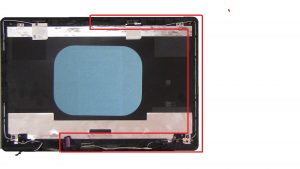

Step 12
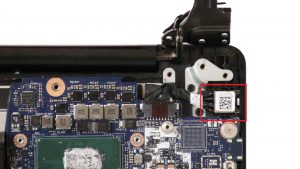
- Remove Display Cable.
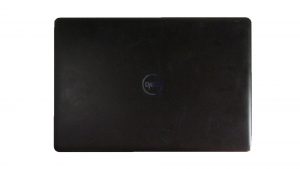

Step 13
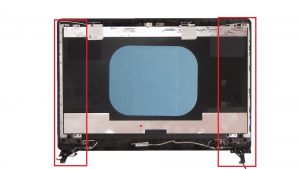
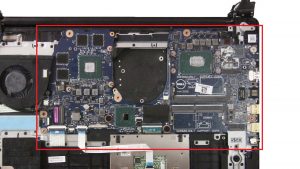
- The remaining piece is the Back Cover.
G3 153579 Back CoverG3 15-3579 Back Cover

 Laptop & Tablet Parts


