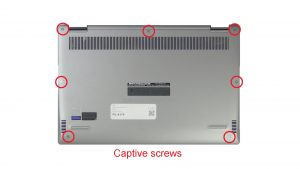
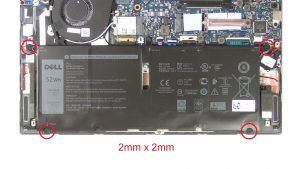
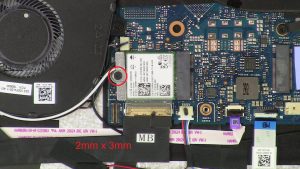
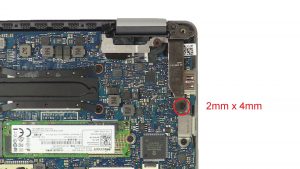
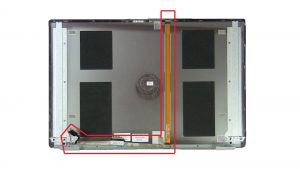
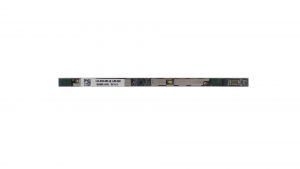
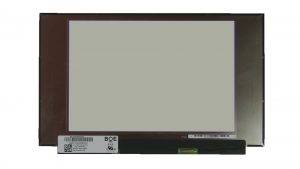
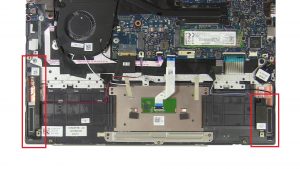
In this Dell laptop tutorial we are going to show you how to install and replace the LCD Panel on your Latitude 3301 laptop. These installation instructions have be made into 9 easy to follow printable steps. We have also create a video tutorial that shows you how to install your Latitude 3301 LCD Panel.
Before you begin


Dell repair manual service precautions
Tools needed for this laptop repair
- 1 x small phillips head screwdriver
- 1 x small plastic scribe
Latitude 3301 LCD Panel
Latitude 3301 LCD Panel
|
|
DIY Discount - Parts-People.com offers 5% off to all DO-IT-YOURSELFERS!
Use this coupon code to save 5% off these parts DIYM514
|
Video tutorial repair manual
Installation and Removal Instructions
Latitude 3301 LCD Panel
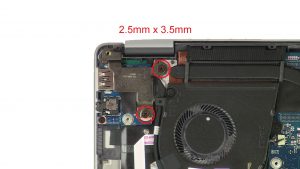

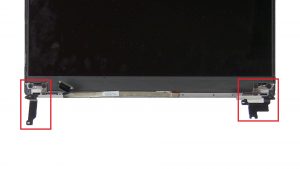
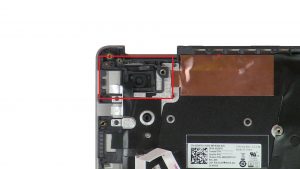
Step 4
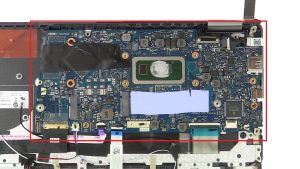
- Unscrew and lift left display hinge (2 X 2.5mm x 3.5mm).
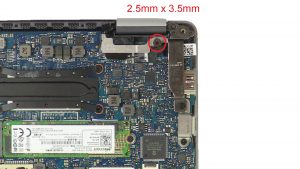

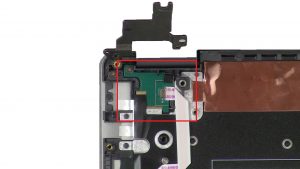
Step 6
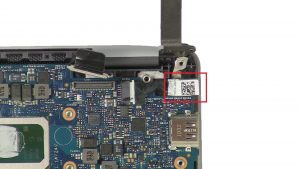
- Unscrew bracket and disconnect display cable (1 X 2.5mm x 3.5mm).
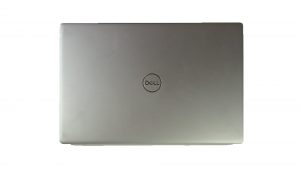

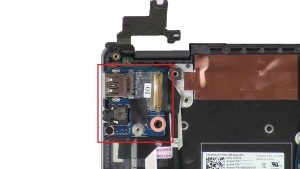
Step 7
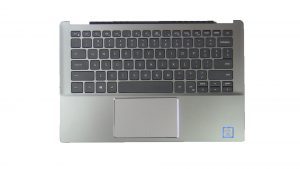
- Separate Display Assembly from Palmrest.
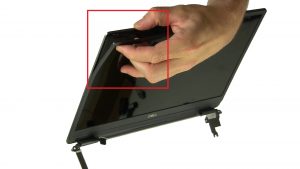

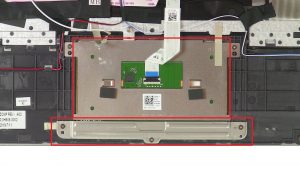
Step 8
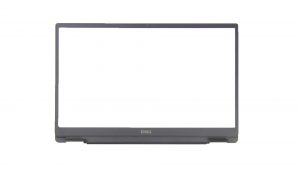
- Use fingers to separate and remove Bezel.
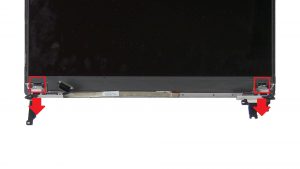

Step 9
- Pull out a section of SR tape.
- Turn over and disconnect LCD Panel.
Latitude 3301 LCD Panel
Latitude 3301 LCD Panel
|
|
DIY Discount - Parts-People.com offers 5% off to all DO-IT-YOURSELFERS!
Use this coupon code to save 5% off these parts DIYM514
|

 Laptop & Tablet Parts


