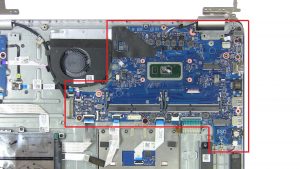
Dell Inspiron 15-5584 (P85F001) I/O Board How-To Written Tutorial


In this Dell laptop tutorial we are going to show you how to install and replace the I/O Board on your Inspiron 15-5584 laptop. These installation instructions have be made into 4 easy to follow printable steps. We have also create a video tutorial that shows you how to install your Inspiron 15-5584 I/O Board.

Before you begin

Please take the time read the following safety guidelines when working on static sensitive electrical components.
Dell repair manual service precautions

Tools needed for this laptop repair

  • 1 x small phillips head screwdriver
  • 1 x small plastic scribe
Inspiron 5584 I O Board

Dell Laptop Replacement Parts Needed

DIY Discount - Parts-People.com offers 5% off to all DO-IT-YOURSELFERS!
Use this coupon code to save 5% off these parts
DIYM514
Inspiron 15 5584 I O Board

Video tutorial repair manual


Installation and Removal Instructions
Inspiron 15-5584 I/O Board

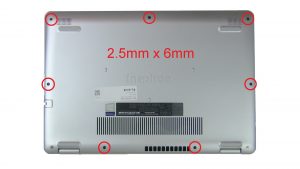
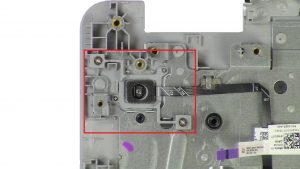
Unscrew and remove Bottom Base (2 x

Step 1

Unscrew and remove Bottom Base (2 x Unscrew and remove Bottom Base (2 x Unscrew and remove Bottom Base (2 x Unscrew and remove Bottom Base (2 x
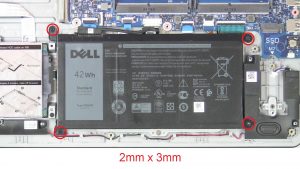
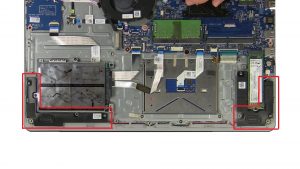
Unscrew and disconnect Battery (4 x

Step 2

Unscrew and disconnect Battery (4 x Unscrew and disconnect Battery (4 x Unscrew and disconnect Battery (4 x
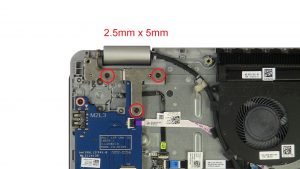
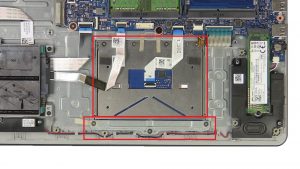
Unscrew and lift left display hinge (3 x M2.5 x 5mm).

Step 3

  • Unscrew and lift left display hinge (3 x M2.5 x 5mm).
Unscrew and lift left display hinge (3 x M2.5 x 5mm).Unscrew and lift left display hinge (3 x M2.5 x 5mm).
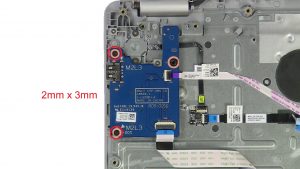
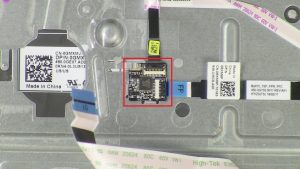
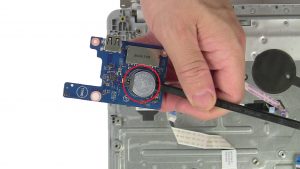
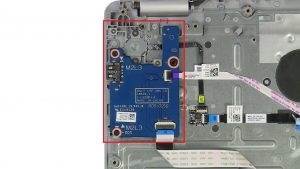
Unscrew and disconnect I/O Board (2 x

Step 4

Unscrew and disconnect I/O Board (2 x Unscrew and disconnect I/O Board (2 x Unscrew and disconnect I/O Board (2 x

Topics: Dell Inspiron Repair Manuals Dell Laptop Repair Dell Repair Manuals I/O Board Inspiron 15 (5584)

Join the conversation!

Leave a Reply

Your email address will not be published. Required fields are marked *

This site uses Akismet to reduce spam. Learn how your comment data is processed.