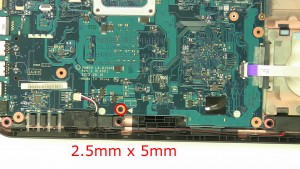
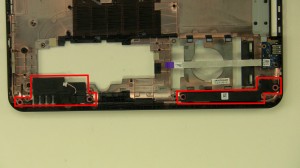
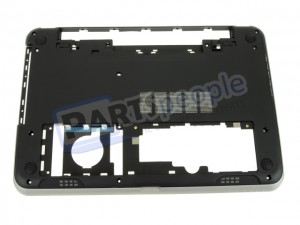
In this Dell laptop tutorial we are going to show you how to install and replace the Speaker on your Dell Inspiron 15-3531 (P28F005) laptop. These installation instructions have be made into 20 easy to follow printable steps. We have also create a video tutorial that shows you how to install your Dell Inspiron 15-3531 (P28F005) Speaker.
Before you begin


Dell repair manual service precautions
Tools needed for this laptop repair
- 1 x small phillips head screwdriver
- 1 x small flat head screwdriver
- 1 x small plastic scribe (optional)
Inspiron 3531 Speaker
Inspiron 15 3531 Speaker
|
|
DIY Discount - Parts-People.com offers 5% off to all DO-IT-YOURSELFERS!
Use this coupon code to save 5% off these parts DIYM514
|
Video tutorial repair manual
Installation and Removal Instructions
Dell Inspiron 15-3531 (P28F005) Speaker
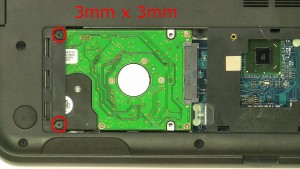

Step 4
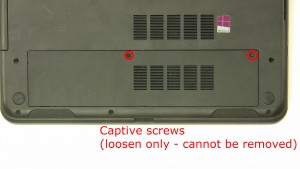
- Remove the 2 - M3 x 3mm hard drive screws.
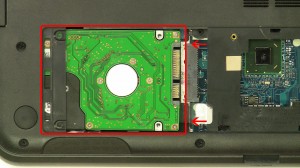

Step 5
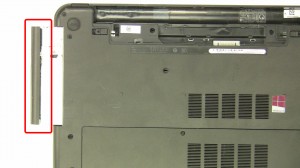
- Slide the hard drive over to unplug it from the motherboard.
- Lift and slide the hard drive out of the laptop using the tab.
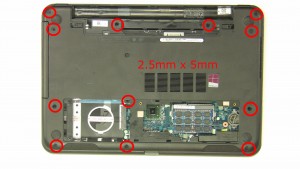

Step 6
- Remove the 12 - M2.5 x 5mm bottom base palmrest screws.
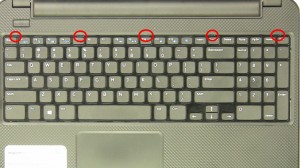

Step 7
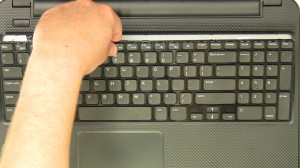
- Turn the laptop over and open it up.
- Using a plastic scribe or flat head screwdriver, press in the keyboard latches at the top of the keyboard.

Step 8
- Lift the keyboard and turn it over.
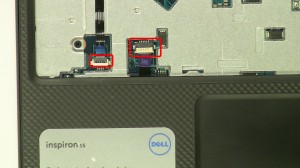
- Unplug the keyboard cable.
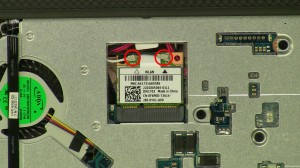

Step 9
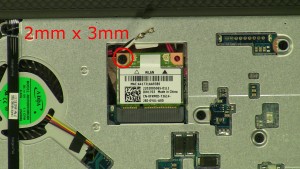
- Unplug the antenna cables.
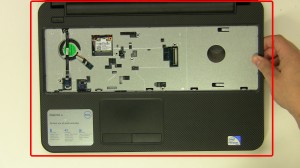

Step 12
- Carefully lift and pry the right edge of the palmrest.
- Work your way around the bottom edge and side.
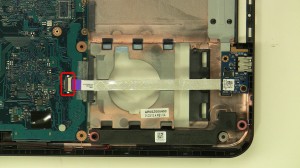

Step 13
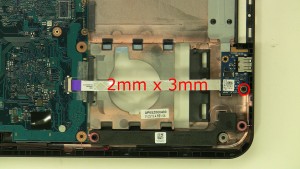
- Unplug the USB circuit cable.
- Loosen the USB circuit cable.
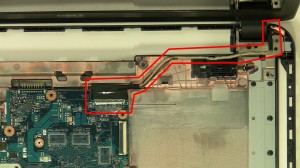

Step 15
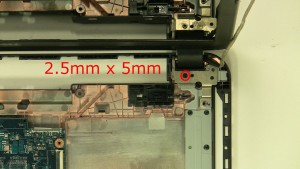
- Unplug and loosen the LCD cable.
- Loosen the wireless antennas.
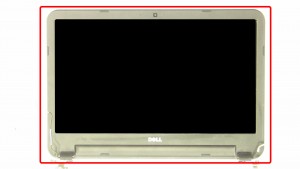

Step 17
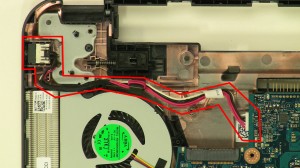
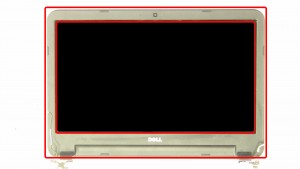
- Remove the complete LCD display.
Inspiron 3531 Speaker
Inspiron 15 3531 Speaker
|
|
DIY Discount - Parts-People.com offers 5% off to all DO-IT-YOURSELFERS!
Use this coupon code to save 5% off these parts DIYM514
|

 Laptop & Tablet Parts


