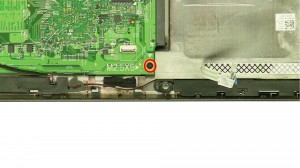
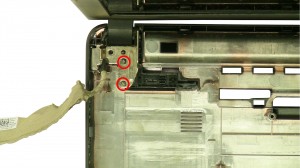
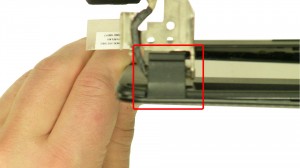
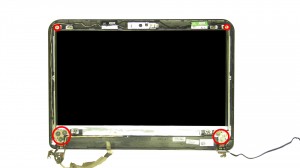
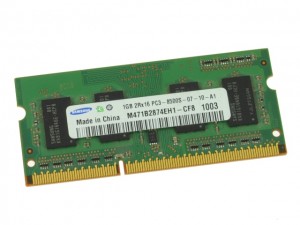
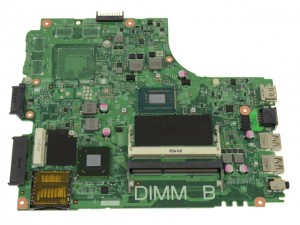
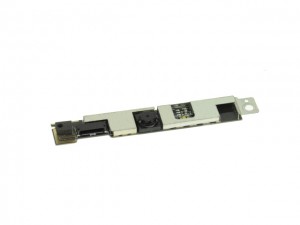
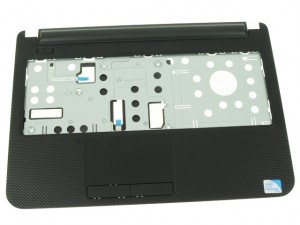
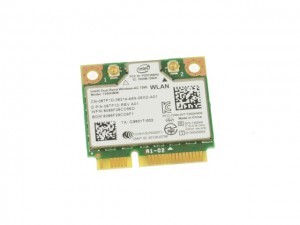
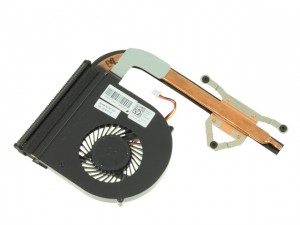
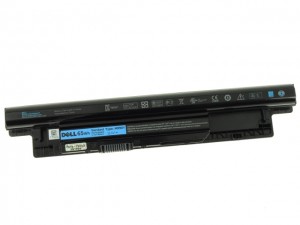
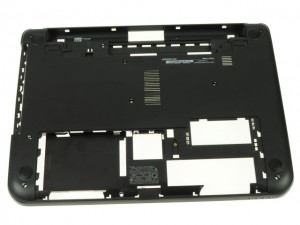
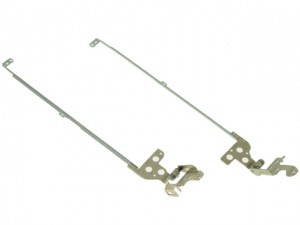
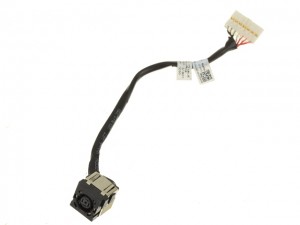
In this Dell laptop tutorial we are going to show you how to install and replace the LCD Hinge Rails on your Inspiron 14R-5437 (P37G-003) laptop. These installation instructions have be made into 19 easy to follow printable steps. We have also create a video tutorial that shows you how to install your Inspiron 14R-5437 (P37G-003) LCD Hinge Rails.
Before you begin


Dell repair manual service precautions
Tools needed for this laptop repair
- 1 x small phillips head screwdriver
- 1 x small plastic scribe
Inspiron 5437 Hinges
Inspiron 14R 5437 LCD Hinges
|
|
DIY Discount - Parts-People.com offers 5% off to all DO-IT-YOURSELFERS!
Use this coupon code to save 5% off these parts DIYM514
|
Video tutorial repair manual
Installation and Removal Instructions
Inspiron 14R-5437 (P37G-003) LCD Hinge Rails
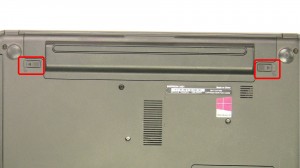

Step 1
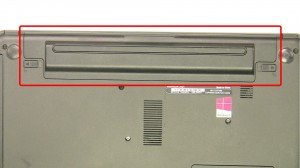
- Slide the latches over to unlock the battery.

Step 6
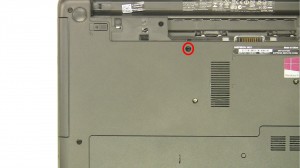
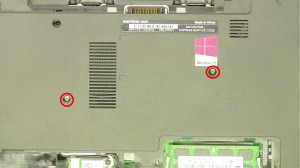
- Remove the bottom keyboard screws.
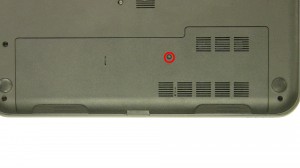
- Remove the bottom palmrest screws.
- Turn the laptop over & open it up.

Step 7
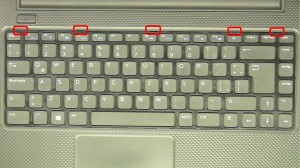
- Press the keyboard tabs in to loosen the keyboard.

Step 9
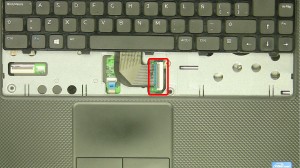
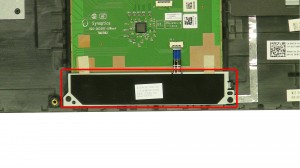
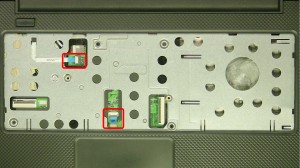
- Unplug the palmrest cables.
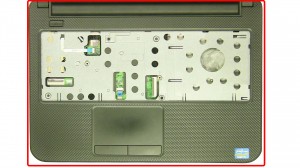
- Remove the palmrest screws.

Step 13
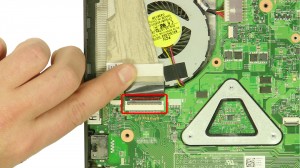
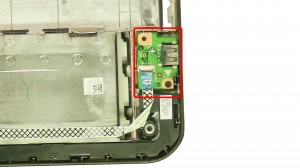
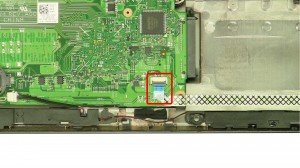
- Unplug the USB cable.
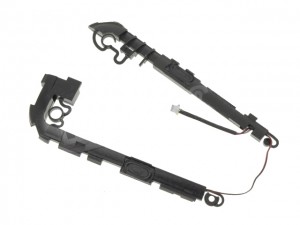
- Unplug the speaker cable.
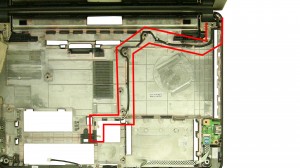

Step 15
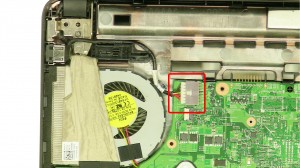
- Loosen the antenna cables.
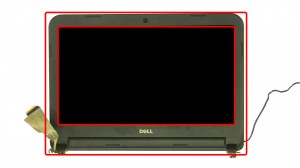

Step 18
- Carefully unsnap the bezel, working your way around the edge of the screen.
- Remove the LCD Bezel.
Inspiron 5437 Hinges
Inspiron 14R 5437 LCD Hinges
|
|
DIY Discount - Parts-People.com offers 5% off to all DO-IT-YOURSELFERS!
Use this coupon code to save 5% off these parts DIYM514
|

 Laptop & Tablet Parts


