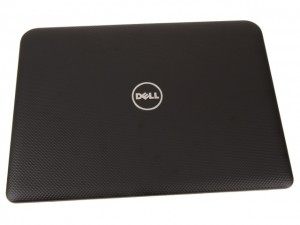
In this Dell laptop tutorial we are going to show you how to install and replace the Heatsink / Fan on your Inspiron 14-3437 (P37G-003) laptop. These installation instructions have be made into 15 easy to follow printable steps. We have also create a video tutorial that shows you how to install your Inspiron 14-3437 (P37G-003) Heatsink / Fan.
Before you begin


Dell repair manual service precautions
Tools needed for this laptop repair
- 1 x small phillips head screwdriver
- 1 x small plastic scribe
Inspiron 3437 Heatsink Fan
Inspiron 14 3437 Heatsink Fan
|
|
DIY Discount - Parts-People.com offers 5% off to all DO-IT-YOURSELFERS!
Use this coupon code to save 5% off these parts DIYM514
|
Video tutorial repair manual
Installation and Removal Instructions
Inspiron 14-3437 (P37G-003) Heatsink / Fan
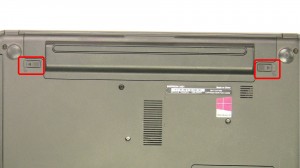

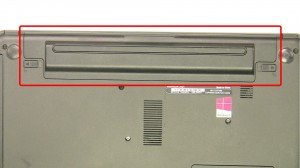
Step 1
- Slide the latches over to unlock the battery.
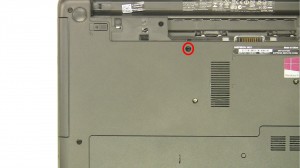

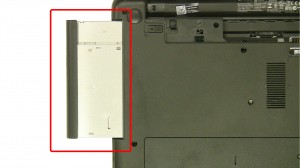
Step 3
- Remove the optical drive screw.
- Slide the optical drive out.
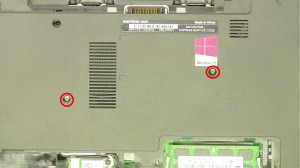

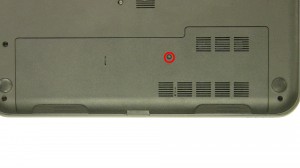
Step 7
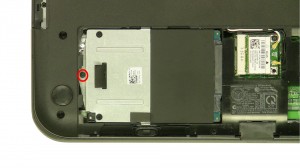
- Remove the bottom keyboard screws.
- Remove the bottom palmrest screws.
- Turn the laptop over & open it up.
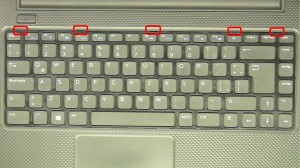

Step 8
- Press the keyboard tabs in to loosen the keyboard.
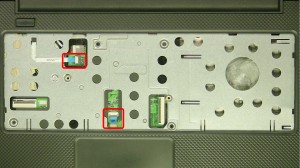

Step 10
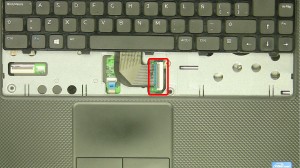
- Unplug the palmrest cables.
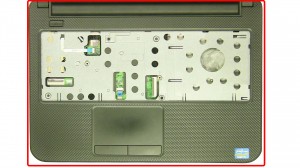
- Remove the palmrest screws.
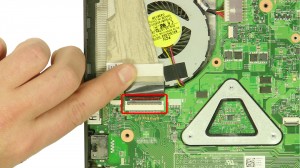

Step 12
- Unplug & loosen the LCD cable.
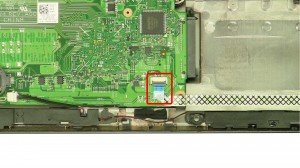

Step 14
- Unplug the USB cable.
- Unplug the speaker cable.
- Remove the motherboard screw.
- Remove the Motherboard.
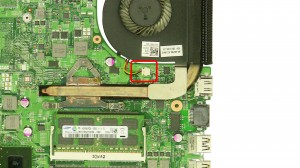

Step 15
- Turn the motherboard over.
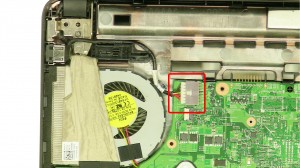
- Unplug the fan cable.
- Loosen the heatsink screws.
- Remove the Heatsink Fan.
Inspiron 3437 Heatsink Fan
Inspiron 14 3437 Heatsink Fan
|
|
DIY Discount - Parts-People.com offers 5% off to all DO-IT-YOURSELFERS!
Use this coupon code to save 5% off these parts DIYM514
|

 Laptop & Tablet Parts


