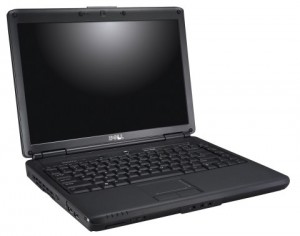
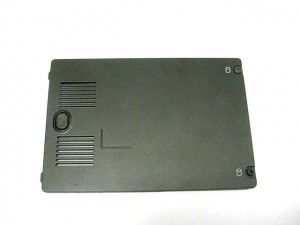
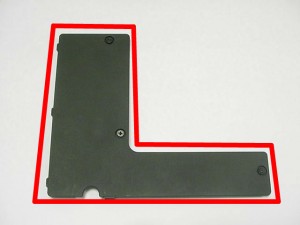
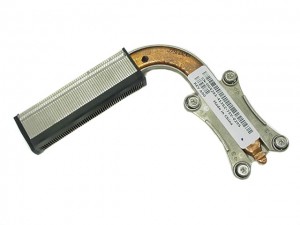
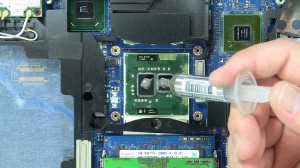
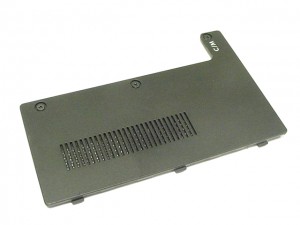
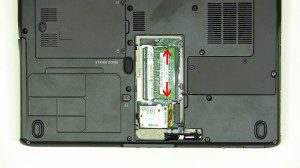
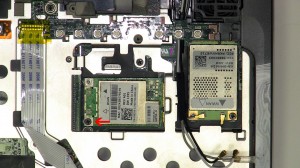
In this Dell laptop tutorial we are going to show you how to install and replace the Back Cover on your Dell Inspiron 1420n laptop. These installation instructions have be made into 13 easy to follow printable steps. We have also create a video tutorial that shows you how to install your Dell Inspiron 1420n Back Cover.
Before you begin


Dell repair manual service precautions
Tools needed for this laptop repair
- 1 x small phillips head screwdriver
- 1 x small flat head screwdriver
- 1 x plastic scribe (optional)
Inspiron 1420n Back CoverInspiron 1420n Back Cover
Video tutorial repair manual
Installation and Removal Instructions
Dell Inspiron 1420n Back Cover
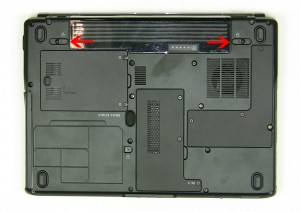

Step 1
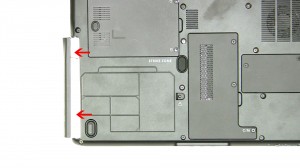
- Slide the 2 battery latches towards the outside of the laptop.
- Slide the battery out.
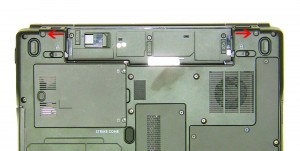

Step 2
- Remove the (2) 2.5mm x 8mm hinge screws on the bottom of the laptop.
- Remove the (2) 2.5mm x 8mm hinge screws on the back of the laptop.
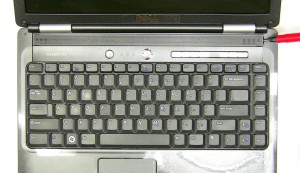

Step 3
- Turn the laptop over an open it up.
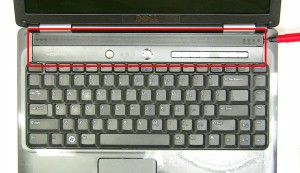
- Using a flat head screw driver pry up the power button cover starting on the right side and work your way to the left.
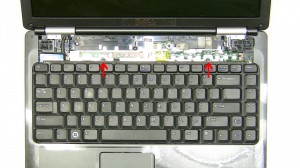

Step 4
- Unscrew the (2) 2mm x 3mm screws.
- Carefully lift the keyboard up and position it above the power button.
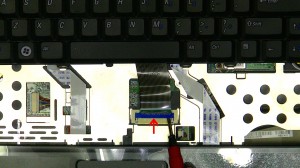

Step 5
- Carefully pivot up the blue latch on the keyboard cable connector and slide the cable out.
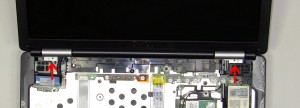

Step 6
- Remove the left and right hinge covers.
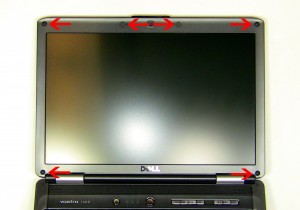

Step 7
- Open the screen up as wide as possible.
- Remove the screw hole covers.
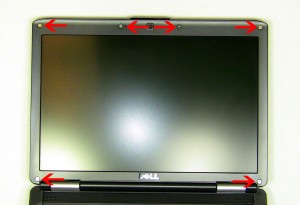

Step 8
- Remove the 6 bezel screws.
- Starting at the bottom, carefully unsnap the bezel working your way around the screen.
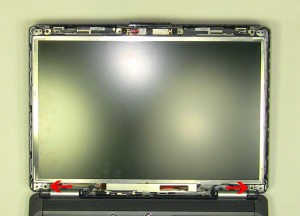

Step 9
- Remove the (2) 2.5mm x 5mm screws.
- Unplug the camera cable.
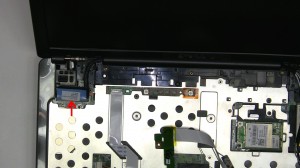

Step 10
- Unplug the LCD cable form the motherboard.
- Carefully lift the screen out of the back assembly.
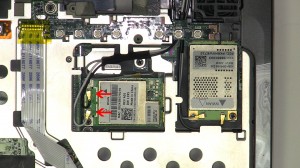

Step 11
- Unplug the WLAN antenna cables.
- Unplug the WWAN antenna cables.
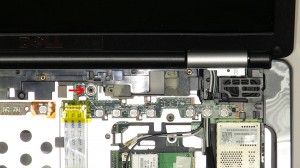

Step 12
- Remove the 2mm x 3mm screw on the media button circuit board.
- Loosen the media button circuit board and remove the antenna cables from under it.
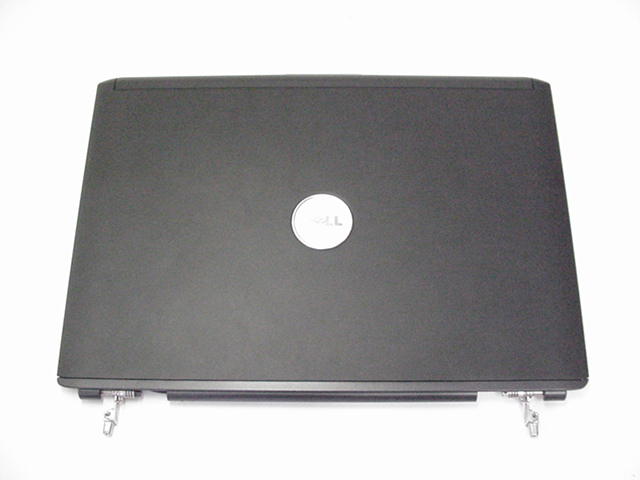

Step 13
- Lift the back assembly off of the laptop base.
Inspiron 1420n Back CoverInspiron 1420n Back Cover

 Laptop & Tablet Parts


