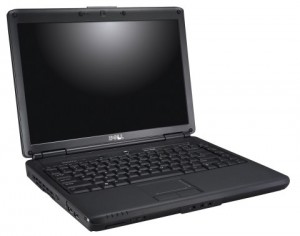
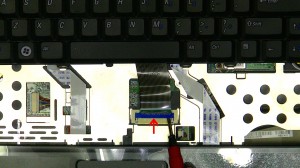
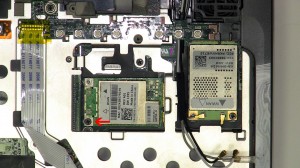
In this Dell laptop tutorial we are going to show you how to install and replace the Heatsink on your Dell Inspiron 1420n laptop. These installation instructions have be made into 3 easy to follow printable steps. We have also create a video tutorial that shows you how to install your Dell Inspiron 1420n Heatsink.
Before you begin


Dell repair manual service precautions
Tools needed for this laptop repair
- 1 x small phillips head screwdriver
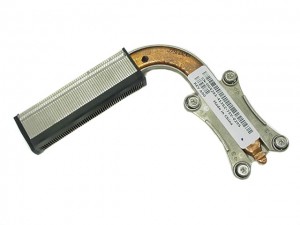
Inspiron 1420n CPU HeatsinkInspiron 1420n CPU Heatsink
Video tutorial repair manual
Installation and Removal Instructions
Dell Inspiron 1420n Heatsink
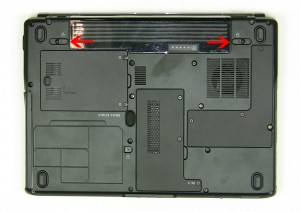

Step 1
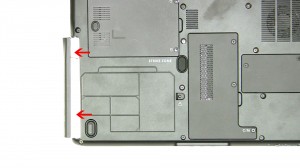
- Slide the 2 battery latches towards the outside of the laptop.
- Slide the battery out.
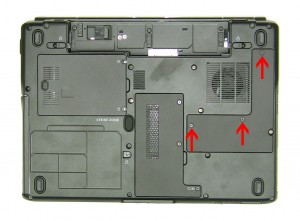

Step 2
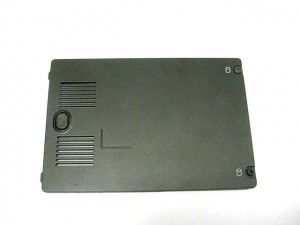
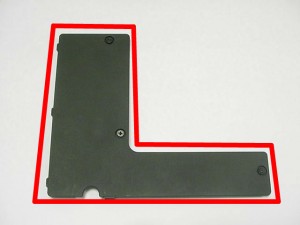
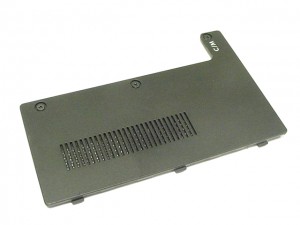
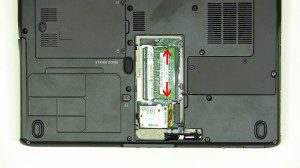
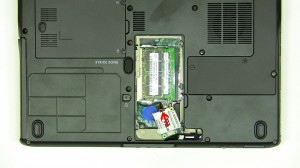
- Loosen the 3 retaining screws.
- Remove the CPU processor door.
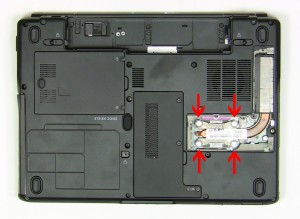

Step 3
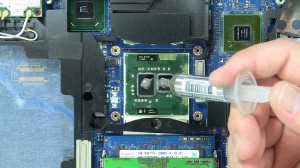
- Loosen the 4 heat sink screws.
- Lift the heat sink away from the motherboard.

 Laptop & Tablet Parts


