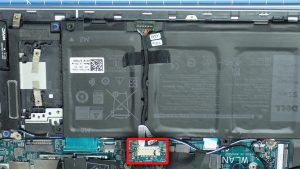
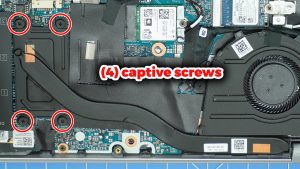
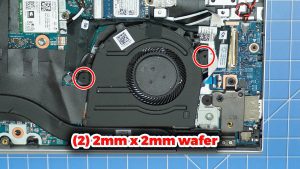
In this Dell laptop tutorial we are going to show you how to install and replace the Motherboard on your Inspiron 14 5402/5409 laptop. These installation instructions have been made into 13 easy to follow printable steps. We have also created a video tutorial that shows you how to install your Inspiron 14 5402/5409 Motherboard.
Before you begin


Dell repair manual service precautions
Tools needed for this laptop repair
- 1 x small phillips head screwdriver
- 1 x small plastic scribe
|
|
DIY Discount - Parts-People.com offers 5% off to all DO-IT-YOURSELFERS!
Use this coupon code to save 5% off these parts DIYM514
|
Video tutorial repair manual
Installation and Removal Instructions
Inspiron 14 5402/5409 Motherboard
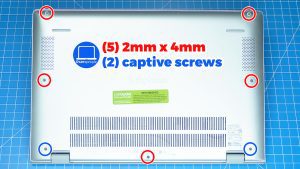

Step 1
- Remove the bottom base cover screws (5 x M2 x 4mm) (2 x captive screws).
- Use a Plastic Scribe to separate and remove the Bottom Base Cover.

Step 7
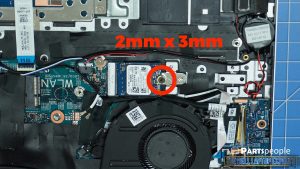
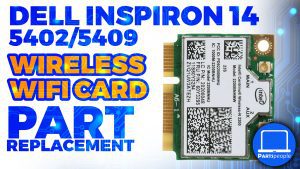
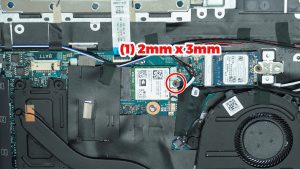
- Remove the Wireless/WiFi Card screw (1 x M2 x 3mm).
- Disconnect the antenna cable then gently slide out the Wireless/WiFi Card.

Step 9
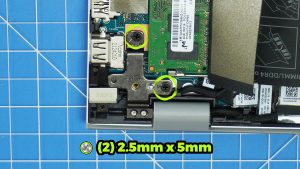
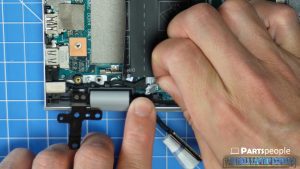
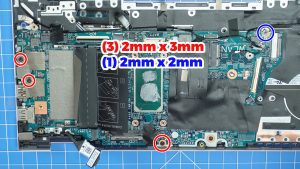
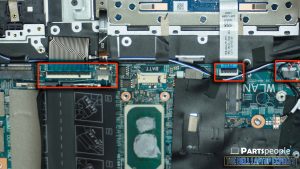
- Disconnect the motherboard using a plastic scribe to unclip and disconnect the cables.

Step 10
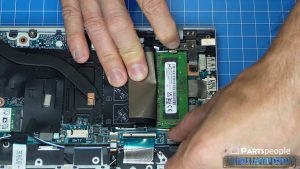
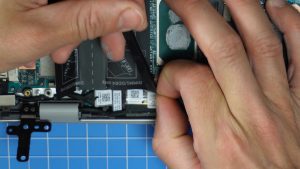
- Peel back the tape securing the display cable connector.
- Use a plastic scribe to unclip and disconnect the display cable.

Step 13
- Follow these steps in reverse order to replace part and reassemble laptop.
|
|
DIY Discount - Parts-People.com offers 5% off to all DO-IT-YOURSELFERS!
Use this coupon code to save 5% off these parts DIYM514
|

 Laptop & Tablet Parts


