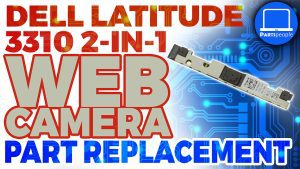
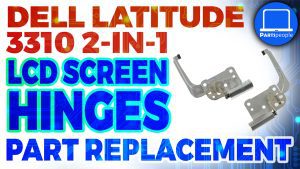
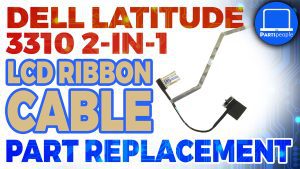
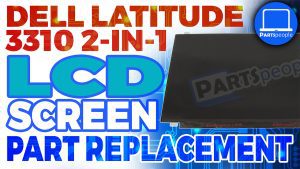
In this Dell laptop tutorial we are going to show you how to install and replace the DC Jack/Charging Port on your Latitude 3310 2-in1 laptop. These installation instructions have been made into 7 easy to follow printable steps. We have also created a video tutorial that shows you how to install your Latitude 3310 2-in1 DC Jack/Charging Port.
Before you begin


Dell repair manual service precautions
Tools needed for this laptop repair
- 1 x small phillips head screwdriver
- 1 x small plastic scribe
|
|
DIY Discount - Parts-People.com offers 5% off to all DO-IT-YOURSELFERS!
Use this coupon code to save 5% off these parts DIYM514
|
Video tutorial repair manual
Installation and Removal Instructions
Latitude 3310 2-in1 DC Jack/Charging Port
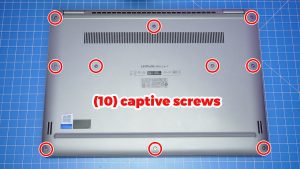

Step 1
- Loosen the bottom base screws (10 x captive screws).
- Use a plastic scribe to unsnap and separate the bottom base cover.
- Use your fingers to carefully work your way around and remove the Bottom Base Cover Assembly.
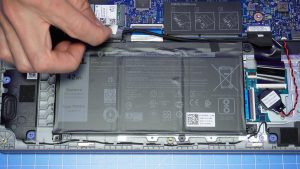

Step 2
- Peel back the tape covering the battery cable connector.
- Disconnect the battery cable.
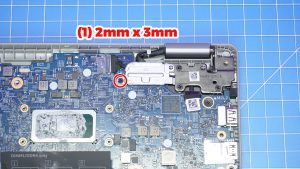

Step 3
- Unscrew and remove the metal bracket (1 x M2 x 3mm).
- Unscrew and lift the right hinge from the palmrest assembly (3 x M2.5 x 5mm).
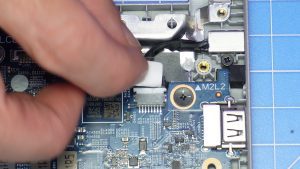

Step 4
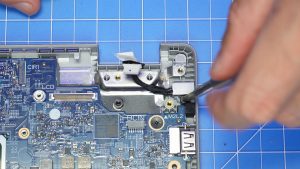
- Peel back tape covering the cable connector.
- Disconnect the DC jack cable.
- Unscrew and remove the DC Jack/Charging Port (1 x M2 x 3mm).


Step 5
- Need a DC Jack/Charging Port? Visit us at www.parts-people.com.

Step 6
- The reinstallation process is as simple as retracing your steps in reverse.

Step 7
- Thanks for checking us out.
|
|
DIY Discount - Parts-People.com offers 5% off to all DO-IT-YOURSELFERS!
Use this coupon code to save 5% off these parts DIYM514
|

 Laptop & Tablet Parts


