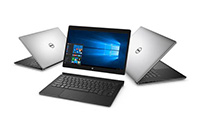
 Laptop & Tablet Parts
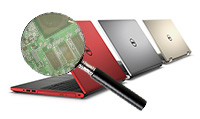
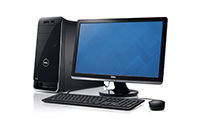 Desktop & All-in-one Parts
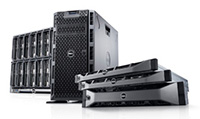 Dell Server Parts
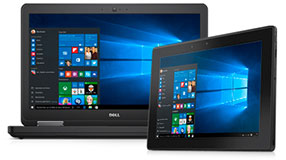


Inspiron 13 (7390) 2-In-1
 |
TOUCHPAD
|
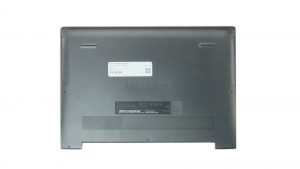 |
BASE COVER
|
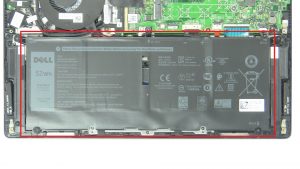 |
BATTERY
|
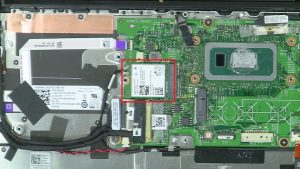 |
WLAN CARD
|
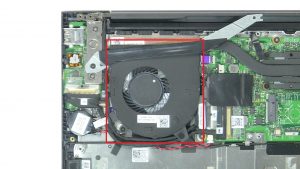 |
COOLING FAN
|
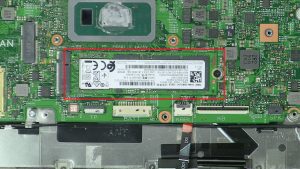 |
M.2 SSD
|
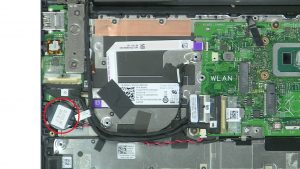 |
CMOS BATTERY
|
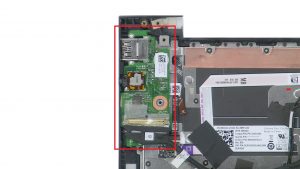 |
I/O BOARD
|
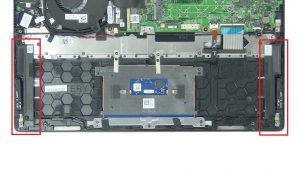 |
SPEAKERS
|
|
|
TOUCHPAD
|
 |
DC JACK
|
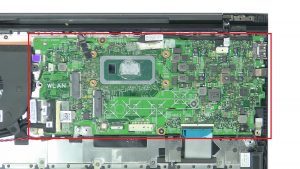 |
MOTHERBOARD
|
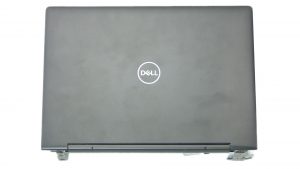 |
DISPLAY ASSEMBLY
|
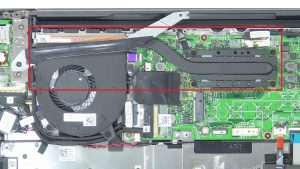 |
HEATSINK
|
