Dell Precision Repair Manuals
|
|
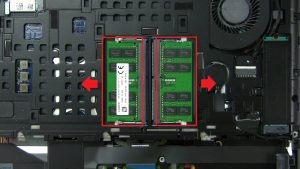
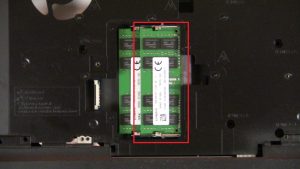
Learn how to remove the Memory (Primary) on the Precision 15-7520 laptop. This will take you step by step through the complete removal process. A Phillips head screwdriver and a plastic scribe are needed for this replacement.
|
|
|
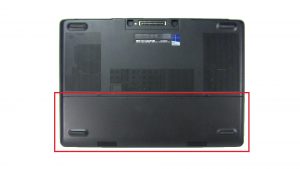
This how-to guide shows the removal of the Battery Cover on the Precision 15-7520. A small Phillips head screwdriver and a plastic scribe are needed for this repair.
|
|
|
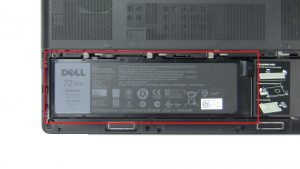
Learn how to remove the Battery on the Precision 15-7520 laptop. This will take you step by step through the complete removal process. A Phillips head screwdriver and a plastic scribe are needed for this replacement.
|
|
|
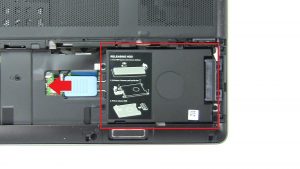
This how-to guide shows the removal of the Hard Drive on the Precision 15-7520. A small Phillips head screwdriver and a plastic scribe are needed for this repair.
|
|
|
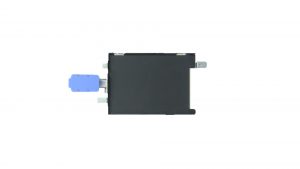
Learn how to remove the Hard Drive Caddy on the Precision 15-7520 laptop. This will take you step by step through the complete removal process. A Phillips head screwdriver and a plastic scribe are needed for this replacement.
|
|
|
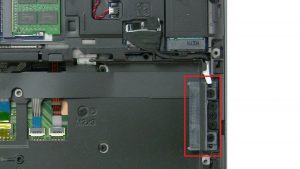
This how-to guide shows the removal of the Hard Drive Connector on the Precision 15-7520. A small Phillips head screwdriver and a plastic scribe are needed for this repair.
|
|
|
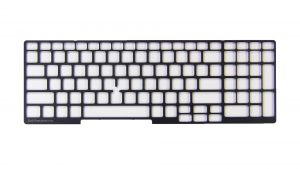
Learn how to remove the Keyboard Bezel on the Precision 15-7520 laptop. This will take you step by step through the complete removal process. A Phillips head screwdriver and a plastic scribe are needed for this replacement.
|
|
|
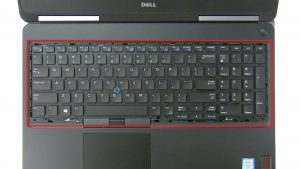
This how-to guide shows the removal of the Keyboard on the Precision 15-7520. A small Phillips head screwdriver and a plastic scribe are needed for this repair.
|
|
|
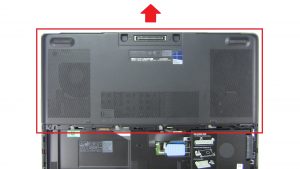
Learn how to remove the Base Cover on the Precision 15-7520 laptop. This will take you step by step through the complete removal process. A Phillips head screwdriver and a plastic scribe are needed for this replacement.
|
|
|
This how-to guide shows the removal of the Memory (Secondary) on the Precision 15-7520. A small Phillips head screwdriver and a plastic scribe are needed for this repair.
|
|
|
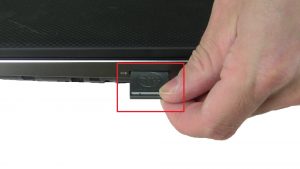
Learn how to remove the SD Card on the Precision 15-7520 laptop. This will take you step by step through the complete removal process. A Phillips head screwdriver and a plastic scribe are needed for this replacement.
|
|
|
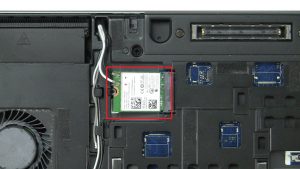
This how-to guide shows the removal of the WLAN Card on the Precision 15-7520. A small Phillips head screwdriver and a plastic scribe are needed for this repair.
|
|
|
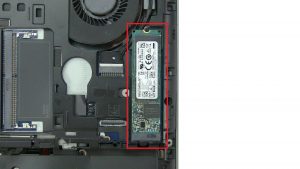
Learn how to remove the M.2 SSD on the Precision 15-7520 laptop. This will take you step by step through the complete removal process. A Phillips head screwdriver and a plastic scribe are needed for this replacement.
|
|
|
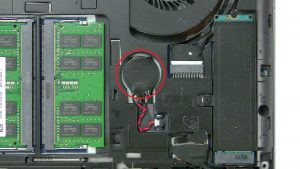
This how-to guide shows the removal of the CMOS Battery on the Precision 15-7520. A small Phillips head screwdriver and a plastic scribe are needed for this repair.
|
|
|
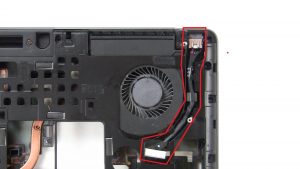
Learn how to remove the DC Jack on the Precision 15-7520 laptop. This will take you step by step through the complete removal process. A Phillips head screwdriver and a plastic scribe are needed for this replacement.
|

 Laptop & Tablet Parts


