Dell Precision Repair Manuals
|
|
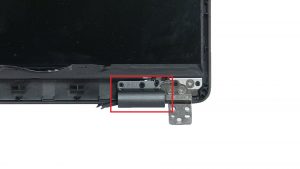
This how-to guide shows the removal of the Hinge Caps on the Precision 15-3541. A small Phillips head screwdriver and a plastic scribe are needed for this replacement.
|
|
|
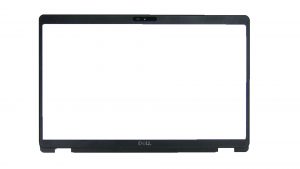
This how-to guide shows the removal of the Display Bezel on the Precision 15-3541. A small Phillips head screwdriver and a plastic scribe are needed for this replacement.
|
|
|
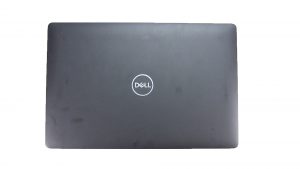
Learn how to remove the Display Assembly on the Precision 15-3541 laptop. This will take you step by step through the complete removal process. A small Phillips head screwdriver and a plastic scribe are needed for this replacement.
|
|
|
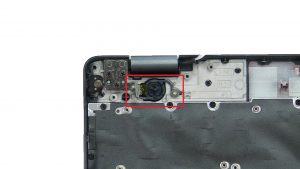
This how-to guide shows the removal of the Power Button on the Precision 15-3541. A small Phillips head screwdriver and a plastic scribe are needed for this replacement.
|
|
|
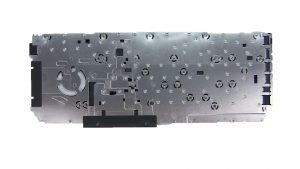
Learn how to remove the Keyboard Bracket on the Precision 15-3541 laptop. This will take you step by step through the complete removal process. A small Phillips head screwdriver and a plastic scribe are needed for this replacement.
|
|
|
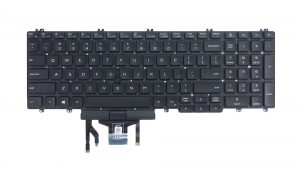
This how-to guide shows the removal of the Keyboard on the Precision 15-3541. A small Phillips head screwdriver and a plastic scribe are needed for this replacement.
|
|
|
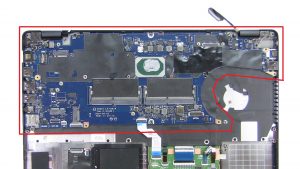
Learn how to remove the Motherboard on the Precision 15-3541 laptop. This will take you step by step through the complete removal process. A small Phillips head screwdriver and a plastic scribe are needed for this replacement.
|
|
|
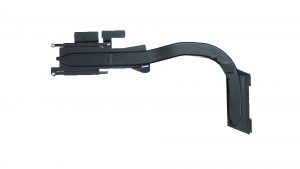
This how-to guide shows the removal of the Heatsink on the Precision 15-3541. A small Phillips head screwdriver and a plastic scribe are needed for this replacement.
|
|
|
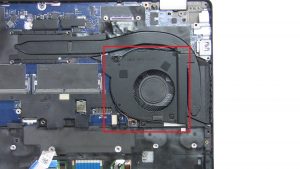
Learn how to remove the Cooling Fan on the Precision 15-3541 laptop. This will take you step by step through the complete removal process. A small Phillips head screwdriver and a plastic scribe are needed for this replacement.
|
|
|
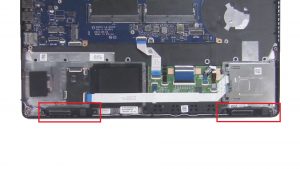
This how-to guide shows the removal of the Speakers on the Precision 15-3541. A small Phillips head screwdriver and a plastic scribe are needed for this replacement.
|
|
|
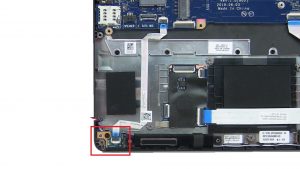
Learn how to remove the LED Board on the Precision 15-3541 laptop. This will take you step by step through the complete removal process. A small Phillips head screwdriver and a plastic scribe are needed for this replacement.
|
|
|
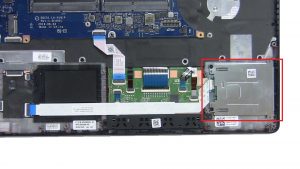
Learn how to remove the Smart Card Reader on the Precision 15-3541 laptop. This will take you step by step through the complete removal process. A small Phillips head screwdriver and a plastic scribe are needed for this replacement.
|
|
|
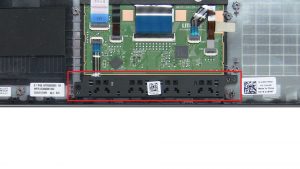
This how-to guide shows the removal of the Touchpad Buttons on the Precision 15-3541. A small Phillips head screwdriver and a plastic scribe are needed for this replacement.
|
|
|
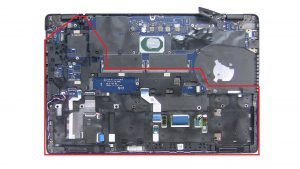
Learn how to remove the Inner Frame on the Precision 15-3541 laptop. This will take you step by step through the complete removal process. A small Phillips head screwdriver and a plastic scribe are needed for this replacement.
|
|
|
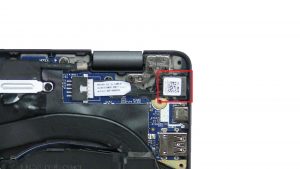
This how-to guide shows the removal of the DC Jack on the Precision 15-3541. A small Phillips head screwdriver and a plastic scribe are needed for this replacement.
|

 Laptop & Tablet Parts


