Dell Studio Repair Manuals
|
|
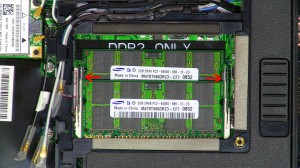
Learn how to install and replace the laptop Memory on a Dell Studio 1555/1557/1558 laptop. This will take you set by set through the complete installation and replacement process. The only tools needed is a small phillips head screw driver and a small flat head screw driver.
|
|
|
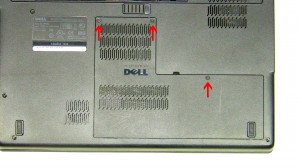
Learn how to install and replace the laptop Access Door Cover on a Dell Studio 1555/1557/1558 laptop. This will take you set by set through the complete installation and replacement process. The only tools needed is a small phillips head screw driver and a small flat head screw driver.
|
|
|
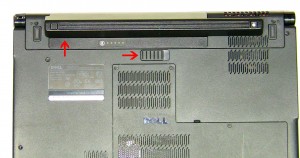
Learn how to install and replace the laptop Battery on a Dell Studio 1555/1557/1558 laptop. This will take you set by set through the complete installation and replacement process. The only tools needed is a small phillips head screw driver and a small flat head screw driver.
|
|
|
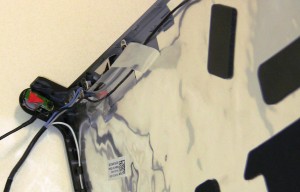
Learn how to install and replace the laptop LCD Back Cover, Power Button/WiFi, Hinge and Camera on a Dell Studio-1535/1536/1537 laptop. This will take you set by set through the complete installation and replacement process. The only tools needed is a small phillips head screw driver and a small flat head screw driver.
|
|
|
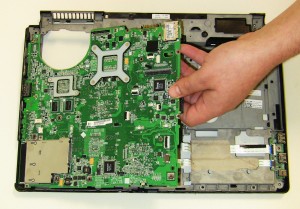
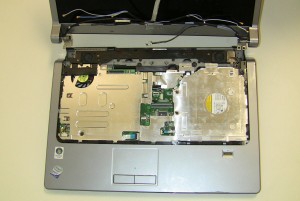
This section explains how to replace the Studio 1535 1536 1537 Motherboard and Base assembly. Removing the Touchpad Palm Rest, Optical Drive, Heat Sink, and DC Jack are required for this repair.
|
|
|
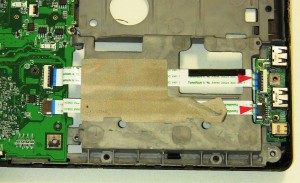
This tutorial shows how to remove the Studio 1535 1536 1537 USB Firewire circuit board. The most difficult part of this repair is removing the Palm Rest to gain access to the circuit board.
|
|
|
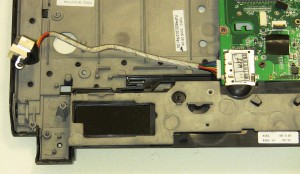
Dell laptops are known to have powering and charging problems, in many cases the DC jack is the culprit. This how to guide explains the correct way to replace the Studio 1535 1536 1537 DC jack.
|
|
|
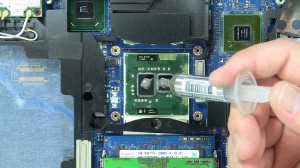
Learn how to install and replace the laptop CPU and Heat Sink on a Dell Studio-1535/1536/1537 laptop. This will take you set by set through the complete installation and replacement process. The only tools needed is a small phillips head screw driver and a small flat head screw driver.
|
|
|
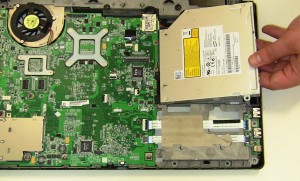
Learn how to install and replace the laptop Optical Drive on a Dell Studio-1535/1536/1537 laptop. This will take you set by set through the complete installation and replacement process. The only tools needed is a small phillips head screw driver and a small flat head screw driver.
|
|
|
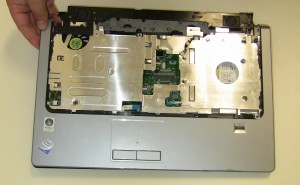
The Access Door, the Media Cover, and the Keyboard removal instructions will all be included in the Display assembly removal. After the Studio 1535 1536 1537 Touchpad Palm Rest is removed, you will has disassembled half of the laptop.
|
|
|
Upgrading or replacing the Studio 1535 1536 1537 web camera can be done without removing the entire LCD display. This tutorial tells how to replace the camera in a few easy steps.
|
|
|
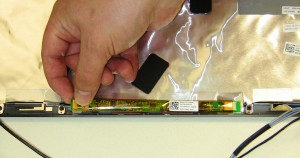
Removing the entire Display Assembly and the LCD Screen is not necessary for removing the LCD Inverter, I have it written this way for complete system rebuilds. If you are just replacing the LCD inverter skip step 3 and step 5.
|
|
|
Learn how to install and replace the laptop LCD Display Screen and Rails on a Dell Studio-1535/1536/1537 laptop. This will take you set by set through the complete installation and replacement process. The only tools needed is a small phillips head screw driver and a small flat head screw driver.
|
|
|
Learn how to install and replace the laptop LCD Display Bezel on a Dell Studio-1535/1536/1537 laptop. This will take you set by set through the complete installation and replacement process. The only tools needed is a small phillips head screw driver and a small flat head screw driver.
|
|
|
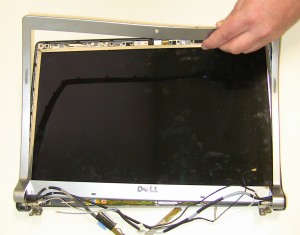
This is the how to instruction manual for replacing the Studio 1535 1536 1537 LCD display assembly. The information in this tutorial is necessary for replacing LCD cables, LCD Bezels, and Web cameras.
|

 Laptop & Tablet Parts


