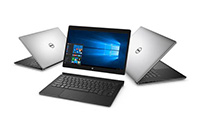
 Laptop & Tablet Parts
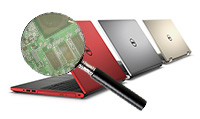
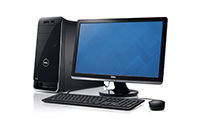 Desktop & All-in-one Parts
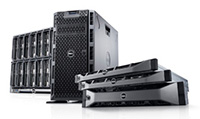 Dell Server Parts
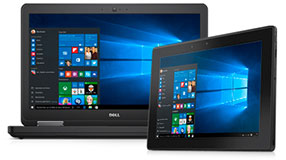


Tag Archives: I/O Board
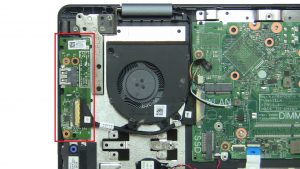 |
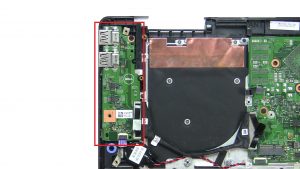
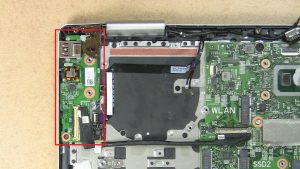
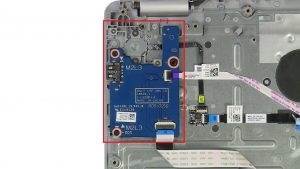
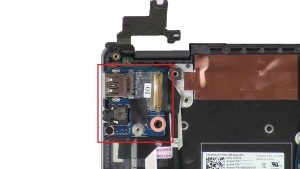
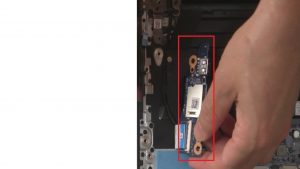
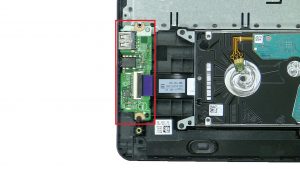
I/O BOARD
|
 |
I/O BOARD
|
|
|
I/O BOARD
|
 |
I/O BOARD
|
 |
I/O BOARD
|
 |
I/O BOARD
|
 |
I/O BOARD
|
|
|
I/O BOARD
|
|
|
I/O BOARD
|
|
|
I/O BOARD
|
|
|
I/O BOARD
|
 |
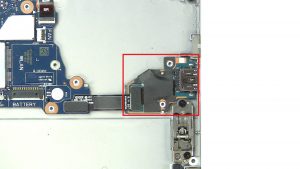
G3 15-3579
|
 |
I/O BOARD
|
|
|
I/O BOARD
|
|
|
I/O BOARD
|
