 Laptop & Tablet Parts
 Desktop & All-in-one Parts
 Dell Server Parts


Tag Archives: Manuals
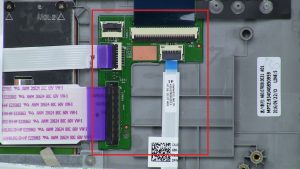 |
DAUGHTER BOARD
|
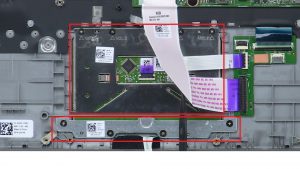 |
TOUCHPAD
|
 |
WLAN CARD
|
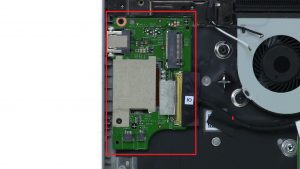 |
USB / SD CARD CIRCUIT BOARD
|
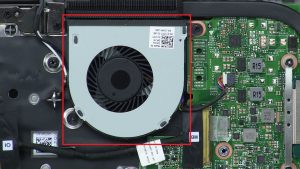 |
COOLING FAN
|
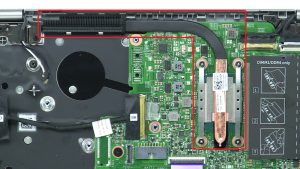 |
HEATSINK
|
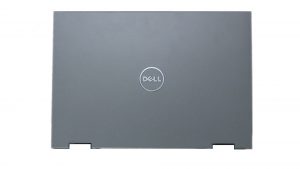 |
LCD DISPLAY ASSEMBLY
|
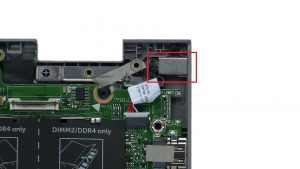 |
DC JACK
|
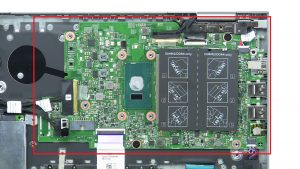 |
MOTHERBOARD
|
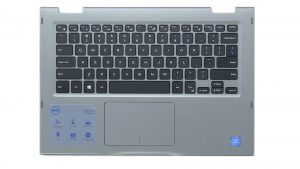 |
PALMREST KEYBOARD
|
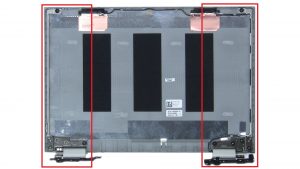 |
HINGE RAILS
|
|
|
LCD BACK
|
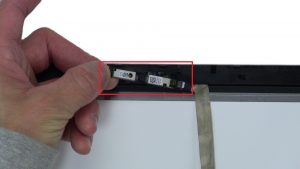 |
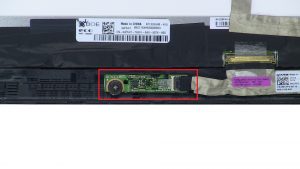
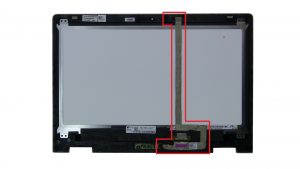
WEB CAMERA
|
 |
SENSOR BOARD
|
 |
LCD CABLE
|
