 Laptop & Tablet Parts
 Desktop & All-in-one Parts
 Dell Server Parts


Tag Archives: P28F001
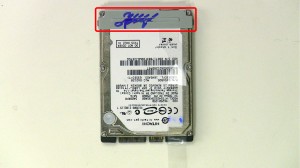 |
HARD DRIVE CADDY
|
 |
KEYBOARD
|
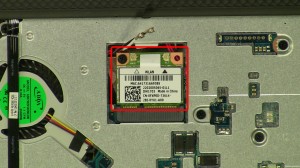 |
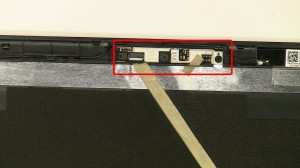
WIRELESS CARD
|
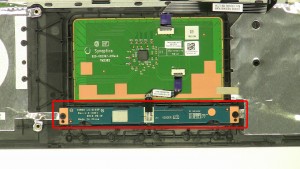 |
MOUSE BUTTONS
|
 |
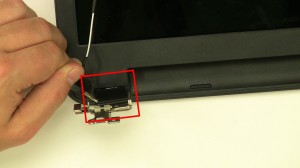
POWER BUTTON
|
 |
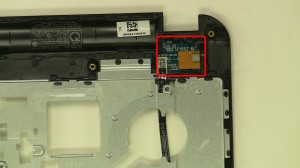
CIRCUIT BOARD
|
 |
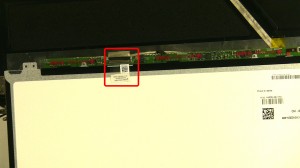
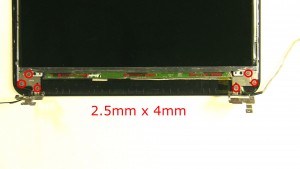
LCD DISPLAY
|
 |
LCD DISPLAY
|
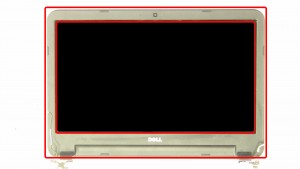 |
LCD DISPLAY BEZEL
|
 |
LCD DISPLAY BEZEL
|
 |
LCD DISPLAY BEZEL
|
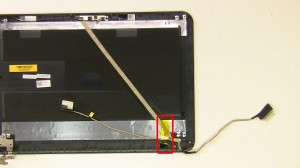 |
LCD CABLE
|
 |
HINGE RAILS
|
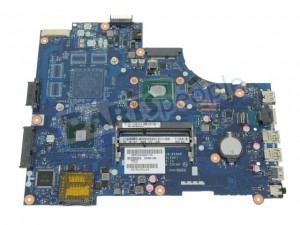 |
MOTHERBOARD
|
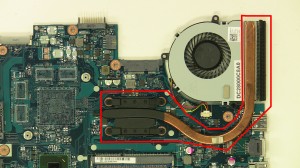 |
HEATSINK
|
